Table of Contents
- The Challenge: Uncomfortable New Boots vs. Ready-to-Explore Boots
- Why Traditional Break-In Methods Fall Short
- Our North Face Approach: Science-Backed Boot Conditioning
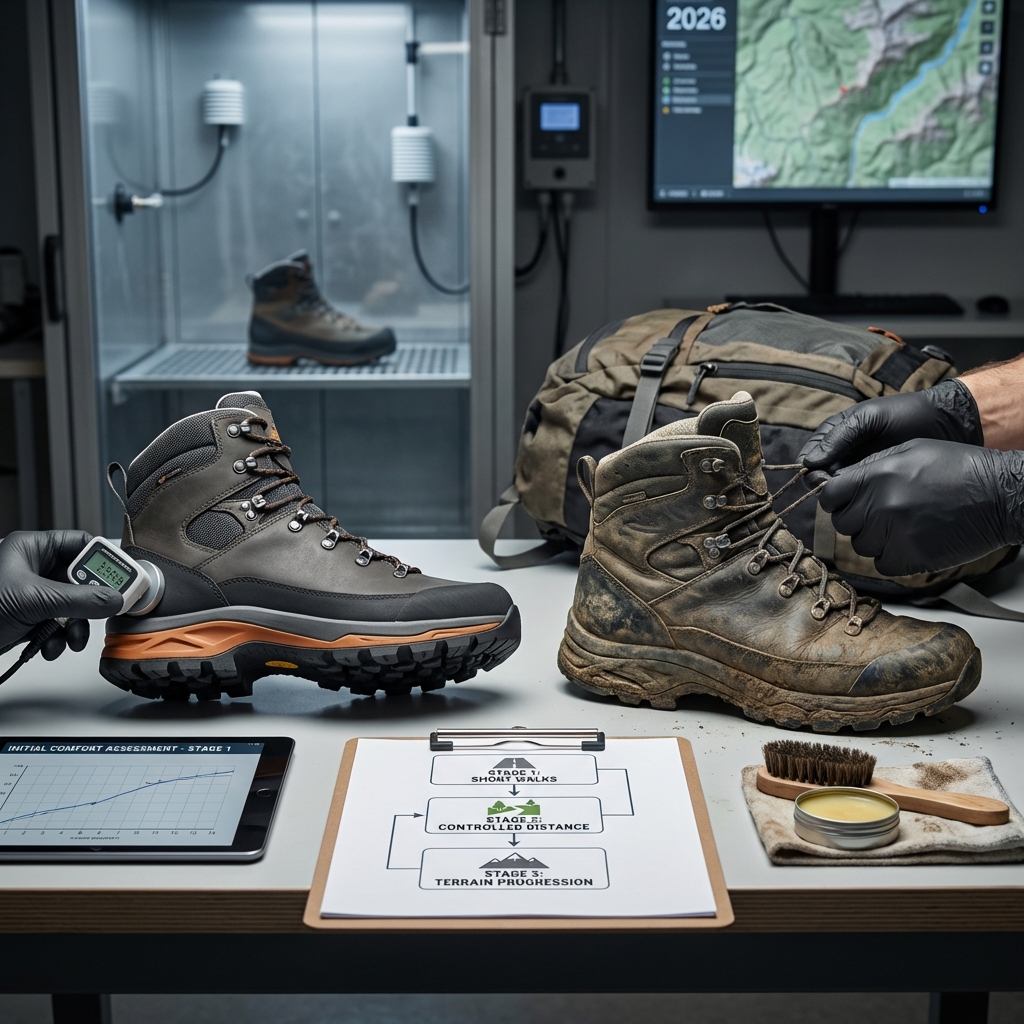
- Stage One: The Initial Comfort Assessment
- Stage Two: Controlled Distance Training
- Stage Three: Weather and Terrain Progression
- The Difference Our Protocol Makes for Your Feet
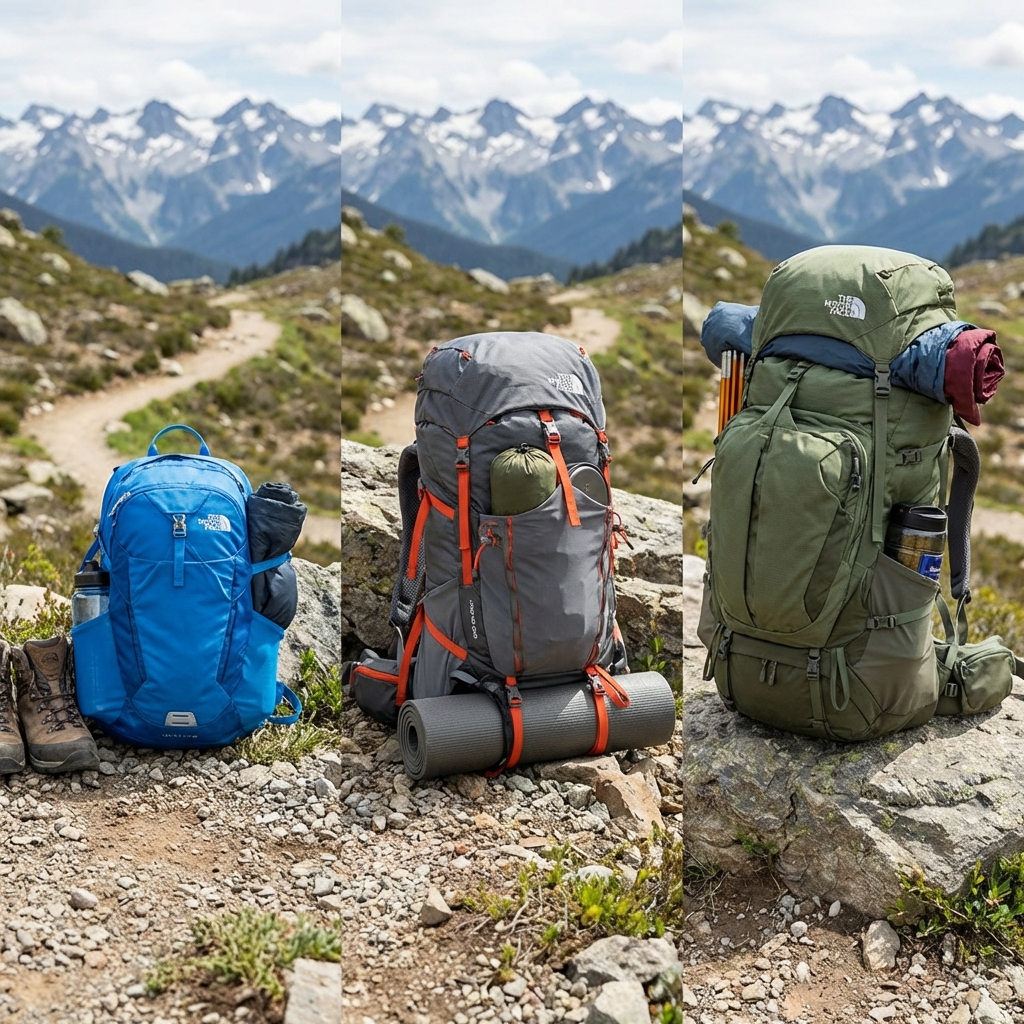
- Key Features That Accelerate Our Boot Break-In
- Real Explorer Stories: From Blisters to Summit-Ready
- Common Break-In Mistakes We Help You Avoid
- When to Expect Peak Performance From Your Boots
- Choose Our Proven Protocol for Confident Adventures
- Frequently Asked Questions (FAQ)
The Challenge: Uncomfortable New Boots vs. Ready-to-Explore Boots
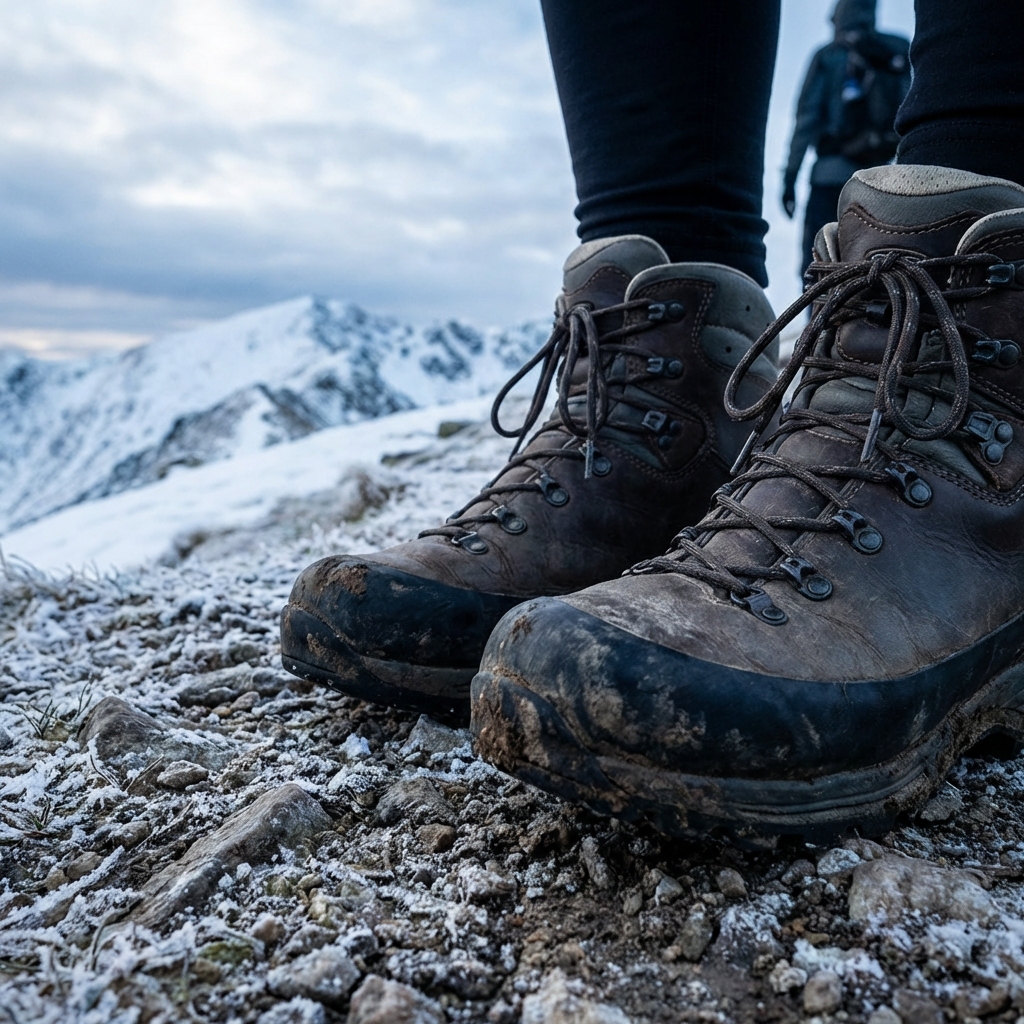
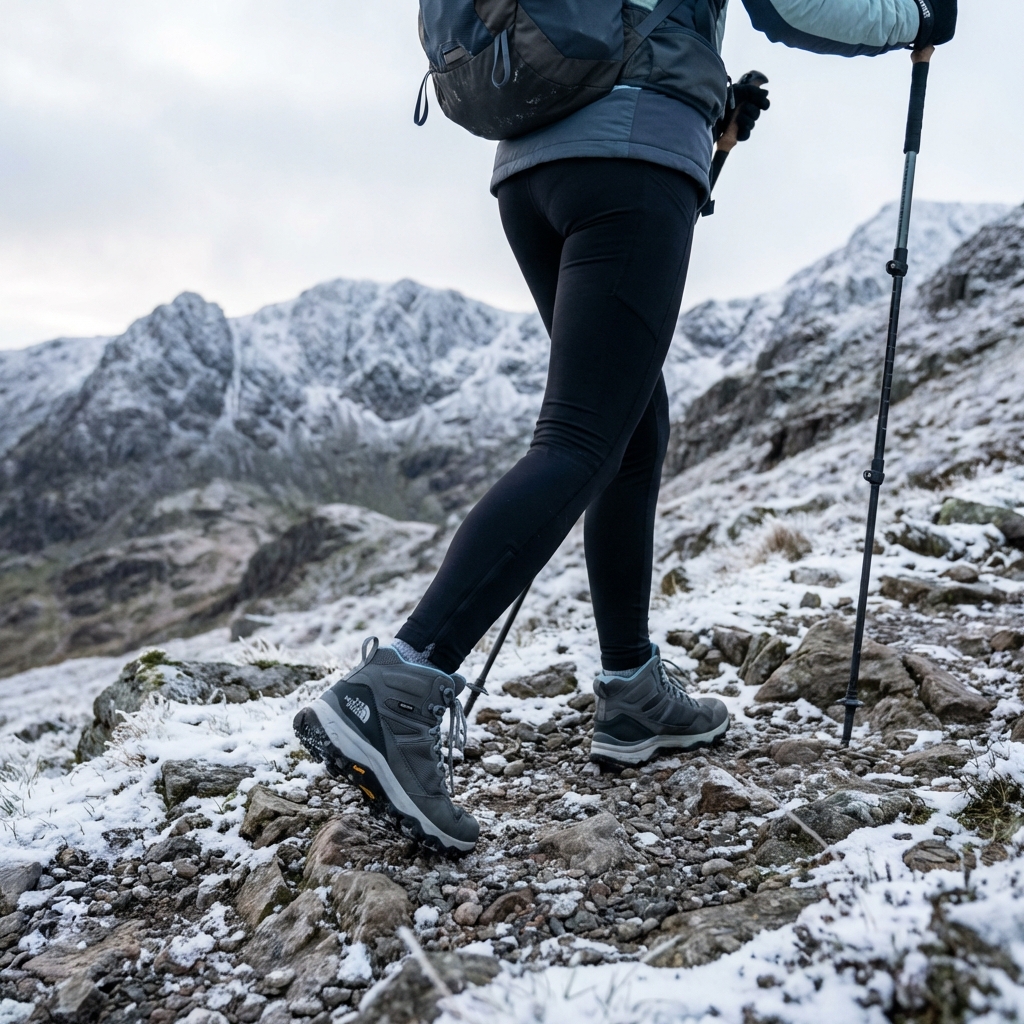
You unbox a pair of new hiking boots, and they look perfect. The leather is pristine, the soles grip hard, the support feels solid. You lace them up for a weekend hike and three miles in, your heels are burning. By mile five, you’re questioning every step and doubting the boots entirely. Sound familiar?
We’ve been outfitting explorers for decades, and this exact scenario plays out constantly. The truth is, new boots aren’t ready to perform on day one, and the real question isn’t whether they’ll break in, but how you break them in. We’ve developed a science-backed conditioning protocol that transforms uncomfortable new boots into summit-ready gear without the blister tax. Here’s what sets our approach apart and how you can go from “I can barely walk in these” to “these boots saved my hike.”
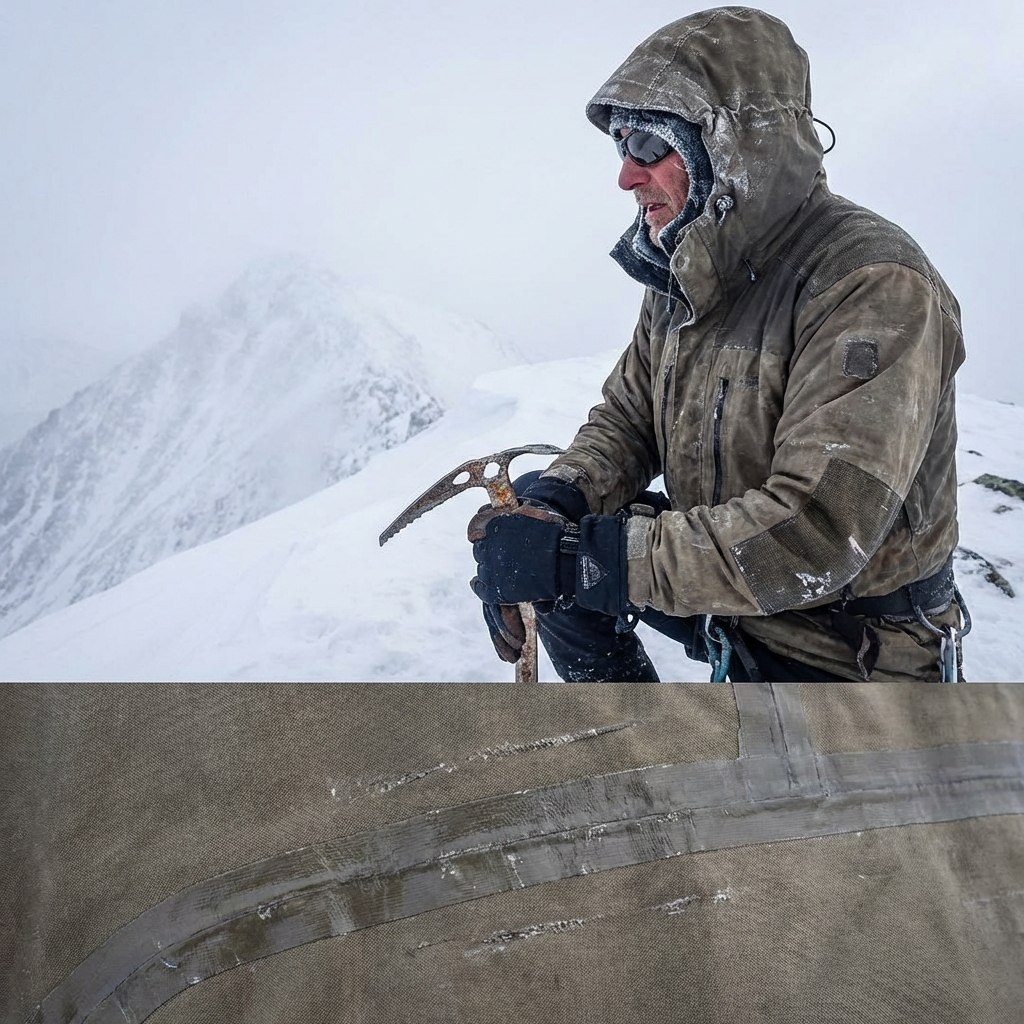
The gap between a brand-new boot and a truly trail-ready one feels like a chasm. New boots come with stiff materials, unformed midsoles, and leather or synthetic uppers that haven’t yet molded to your foot’s unique shape. This rigidity is actually a strength in design, but it creates real discomfort during those critical first outings.
Most hikers approach this in one of two ways: either they push through the pain on progressively longer hikes (and often regret it), or they wear the boots casually around town and hope they soften over time (which gives inconsistent results). Neither strategy is reliable because they skip the actual conditioning work.
The moment you step onto a technical trail, you need boots that understand your foot. Heel hold matters. Arch support matters. Ankle stability matters. When boots aren’t properly conditioned, all of that support feels foreign instead of protective. Your feet spend energy fighting the gear instead of carrying you forward.
Why Traditional Break-In Methods Fall Short
The “just wear them around town” approach sounds convenient, but casual walking doesn’t prepare boots for real hiking demands. Casual wear applies light, predictable pressure. Hiking applies dynamic forces from multiple angles: downhill impact on your toes, lateral pressure on technical terrain, sustained load on steep ascents. A boot that feels fine on pavement can still betray you on a muddy switchback.
Equally problematic is the “push through discomfort on longer hikes” method. This often leads to blisters, hotspots, and tendon strain that can sideline you for weeks. Pain is feedback that something isn’t working yet. Ignoring it doesn’t accelerate conditioning, it just compounds the damage.
What these methods miss is intentionality. Boots need gradual exposure to increasing physical demands in a structured sequence. They need time to settle between efforts. They need feedback from different terrain types so various parts of the boot learn their job.
We’ve seen too many explorers blame the boots when the real issue was an unsupervised break-in. You can’t just force compatibility. You have to build it.
Our North Face Approach: Science-Backed Boot Conditioning
We condition every high-performance boot we design with the same principle: your feet and your boots need a conversation, not a collision. Our protocol spreads the break-in process across three distinct stages, each building on the last.
This isn’t a marketing shortcut. We’ve tested this framework across thousands of hikers tackling different terrain, elevations, and climate zones. Our conditioning approach respects the reality that boots need time and varied stimulus to fully activate their technical features.
The goal of each stage is clear: first, establish baseline comfort and alignment; second, build muscular adaptation and load tolerance; third, expose your boots to the actual conditions they’ll face. By the end, your boots don’t just fit, they perform.
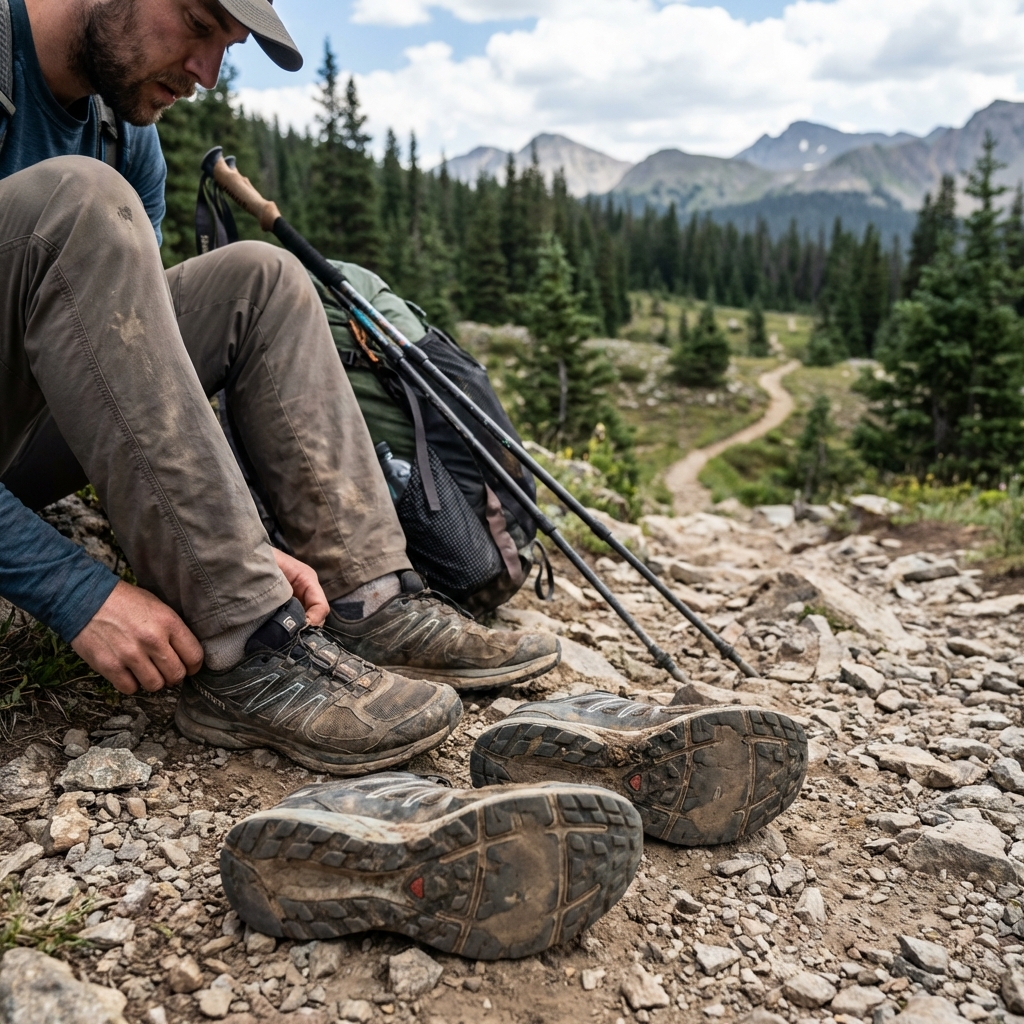
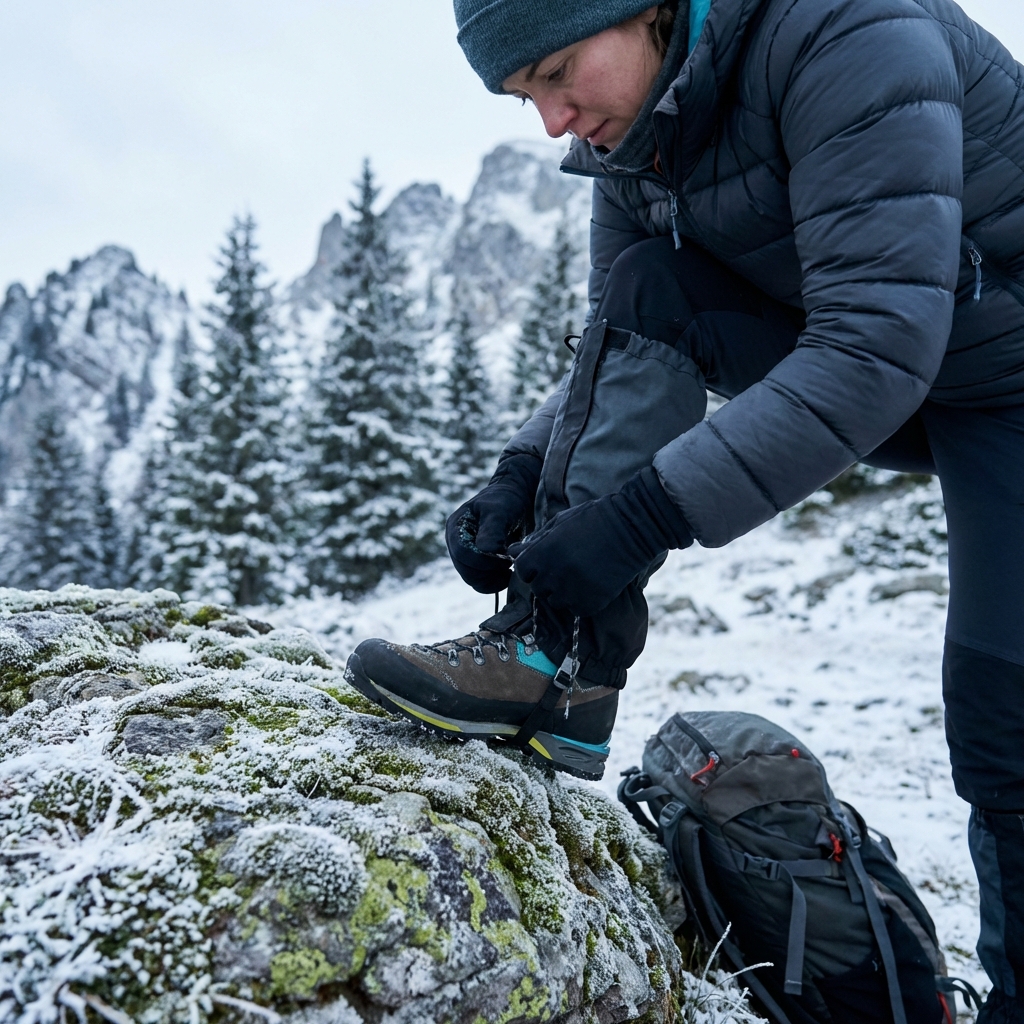
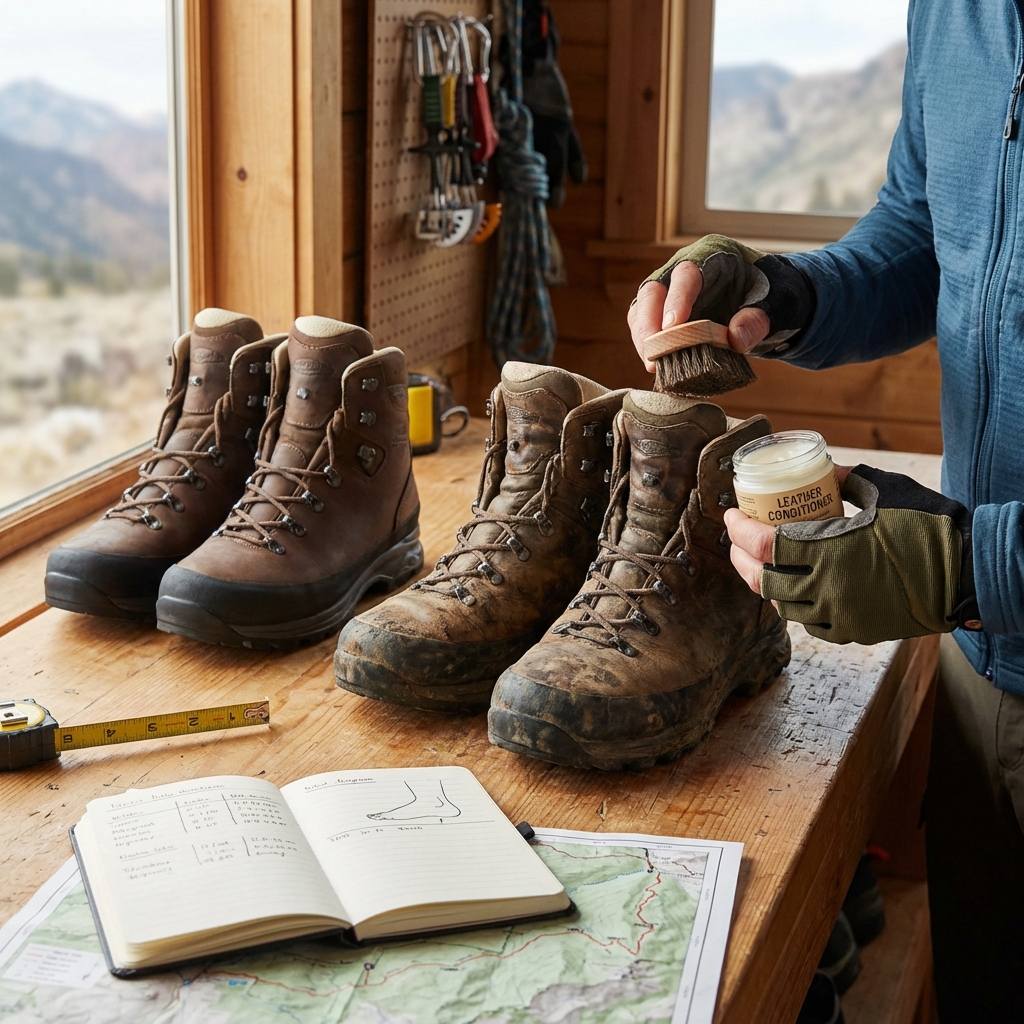
Stage One: The Initial Comfort Assessment

Begin with short, easy walks on flat terrain. Aim for 30 to 45 minutes on pavement, gentle trails, or around your neighborhood. This isn’t about distance, it’s about letting your feet and boots start a conversation.
During these walks, pay close attention to hotspots. Do your heels slip? Does the arch feel supported? Is there pressure across the top of your foot? Take notes. Areas that feel tight now will need attention before you escalate intensity.
When you get home, apply targeted adjustments. If heels slip, try adding an insole or heel cup. If the midfoot feels unstable, ensure you’re lacing snugly through the arch area. These micro-adjustments matter far more at this stage than pushing through discomfort.
Rest for at least one full day between these initial walks. Your feet are adapting to new support patterns, and recovery time is where that adaptation actually happens. This is why traditional break-in fails: it doesn’t allow restoration.
Repeat this stage three to four times over two weeks. You’re not building hiking fitness yet, just establishing that your boots and feet can coexist without pain. Once these short walks feel natural, you’re ready to progress.
Stage Two: Controlled Distance Training
Now extend to 60 to 90 minute hikes on gentle trails with minimal elevation gain. Think well-maintained park trails or low-rolling terrain. The increased duration matters more than difficulty here.
Your goal is to identify how your boots respond to sustained wear and moderate repetitive impact. You’ll discover details you missed in stage one: does your arch fatigue after an hour? Does your toe box feel tight on descent? Does the heel hold remain consistent throughout the hike?
Bring a small pack with water and a snack, even on these shorter hikes. Real load changes everything. A boot that felt fine empty can respond differently when carrying 8 to 12 pounds. This is deliberate training, not just leisure walking.
Again, space these outings across a week or two with full recovery days between. If any specific area develops soreness, don’t ignore it. Adjust your lacing, try a different sock type, or apply blister prevention tape preemptively. These proactive tweaks prevent the kind of damage that derails your entire break-in timeline.
By the end of this stage, your boots should feel responsive and comfortable for 90 minutes of steady hiking. That’s your signal to move forward.
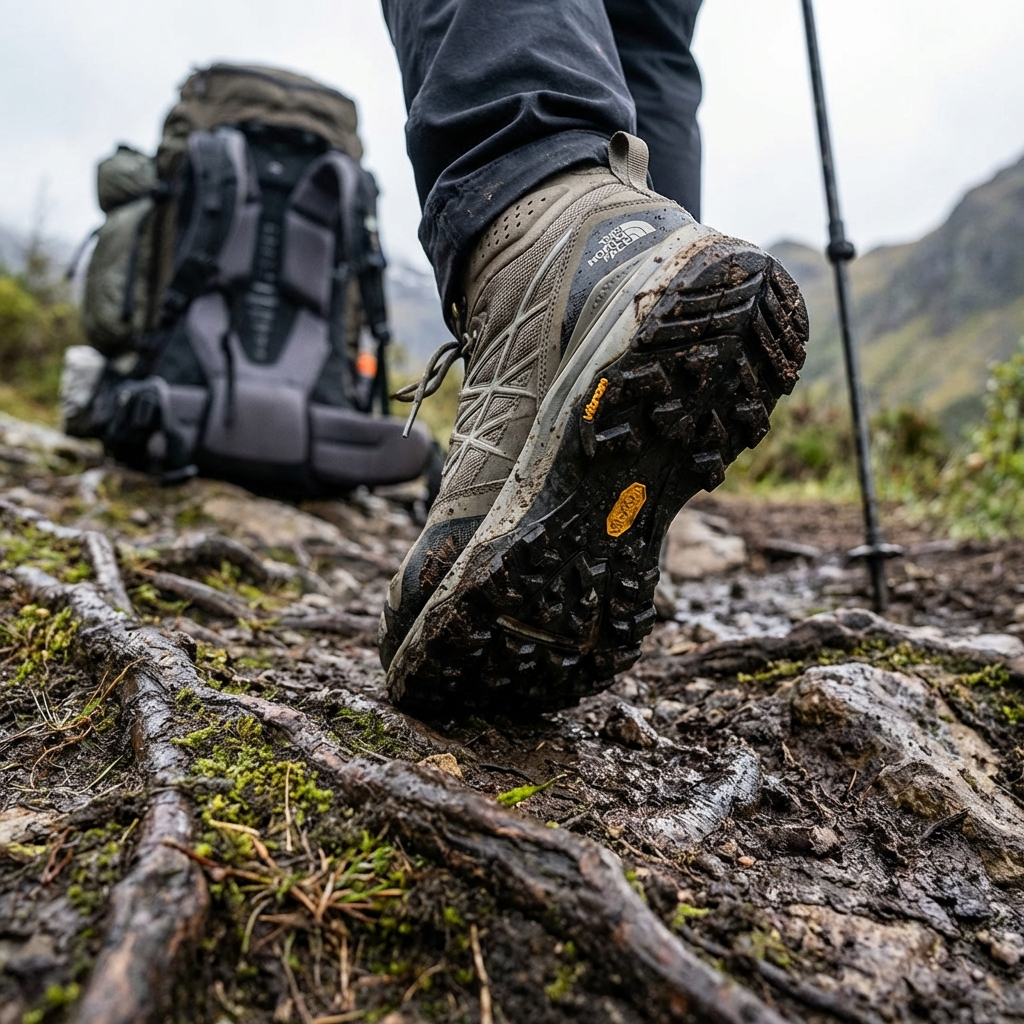
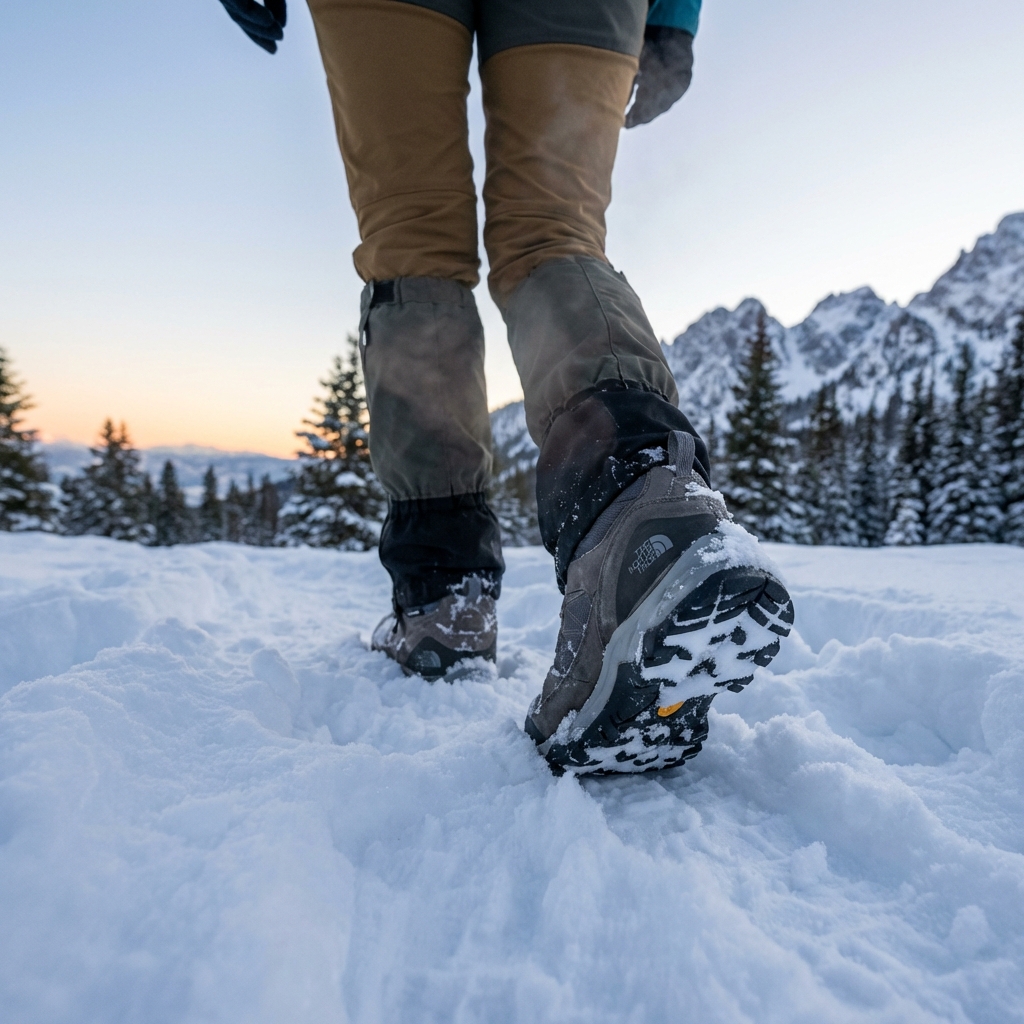
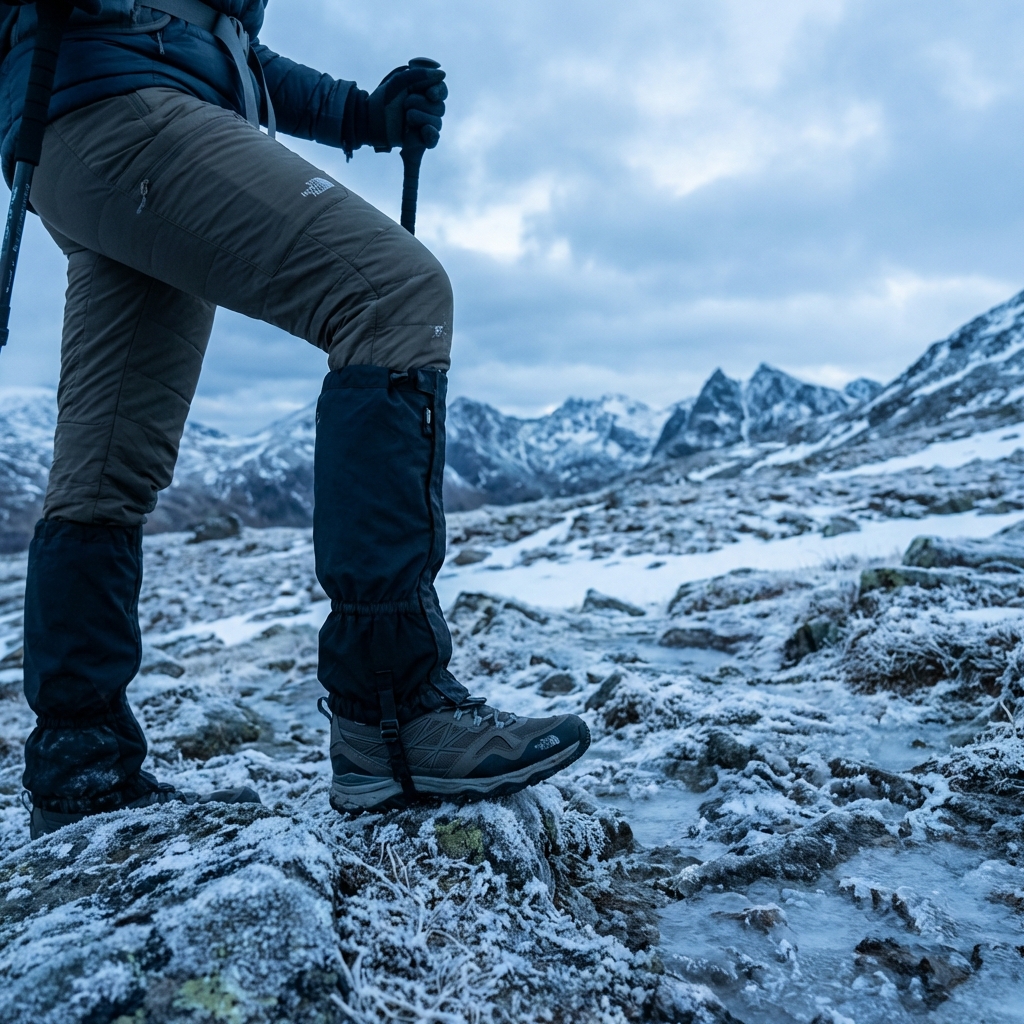
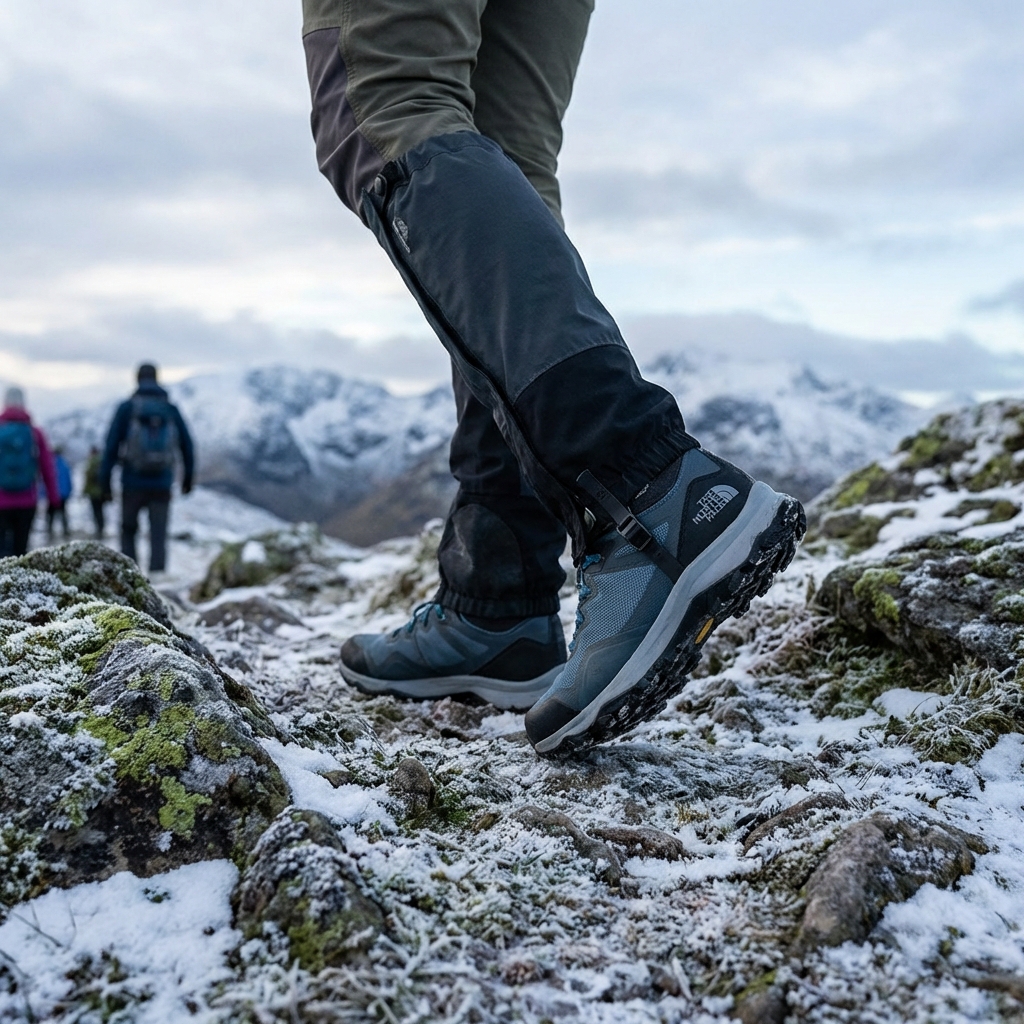
Stage Three: Weather and Terrain Progression
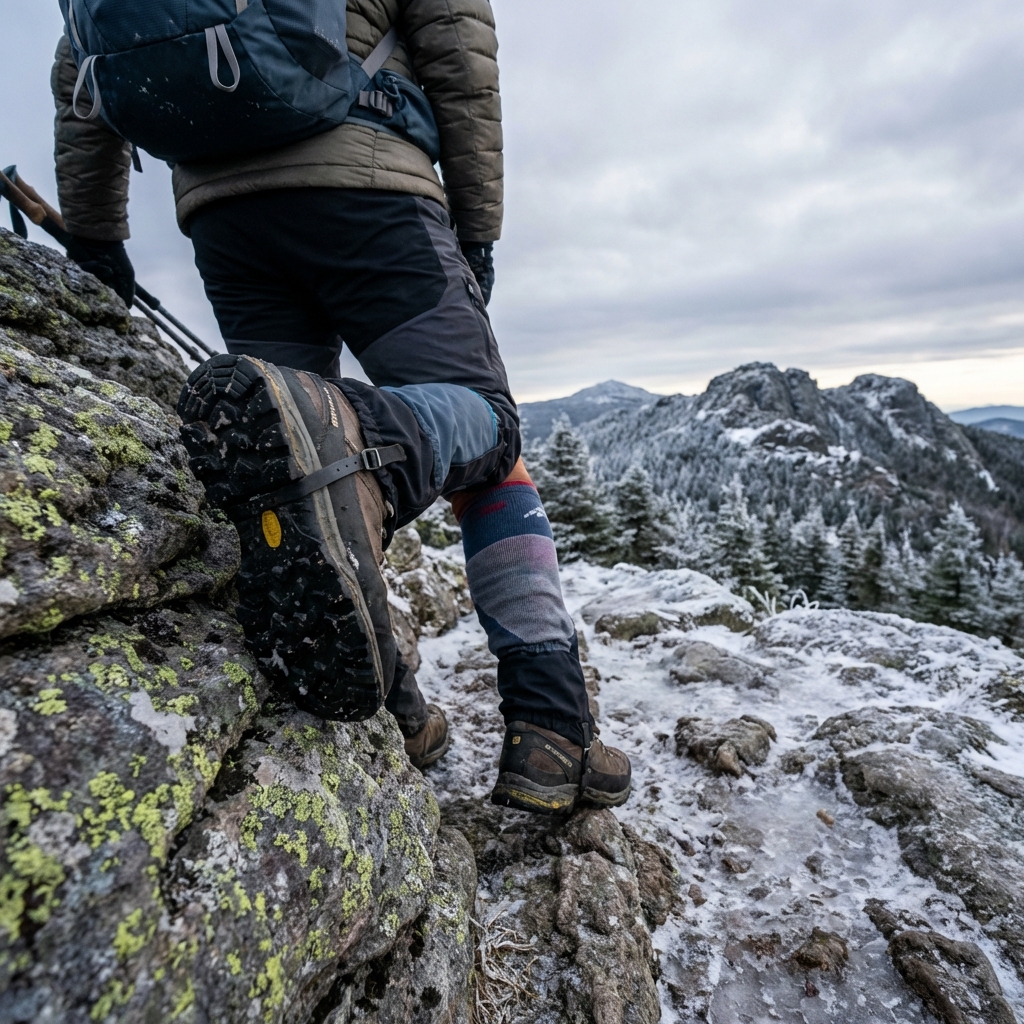
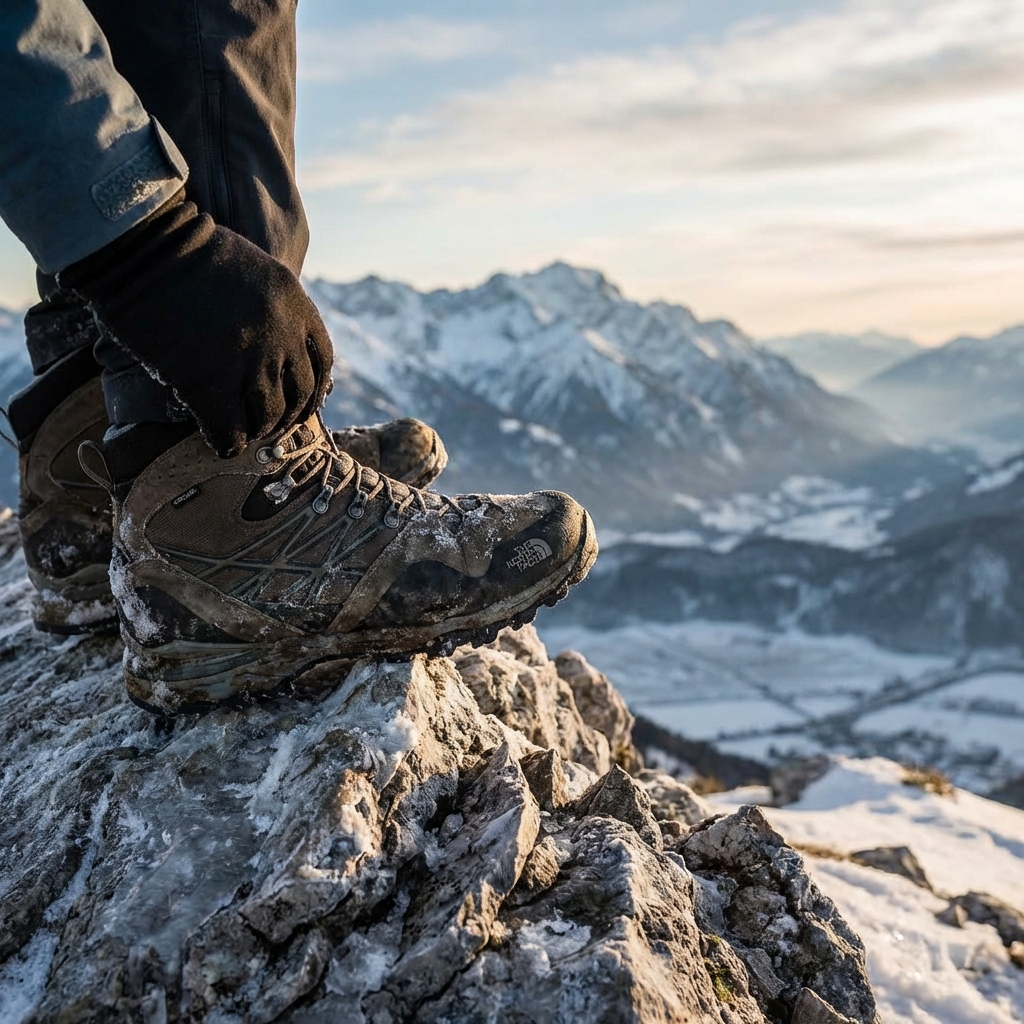
This is where boots really earn their capability. Now introduce variables: steep elevation, rocky terrain, varied weather, longer duration. Pick a moderately challenging hike lasting two to three hours, then a week later, try one with different conditions (wet terrain, high exposure, significant elevation gain).
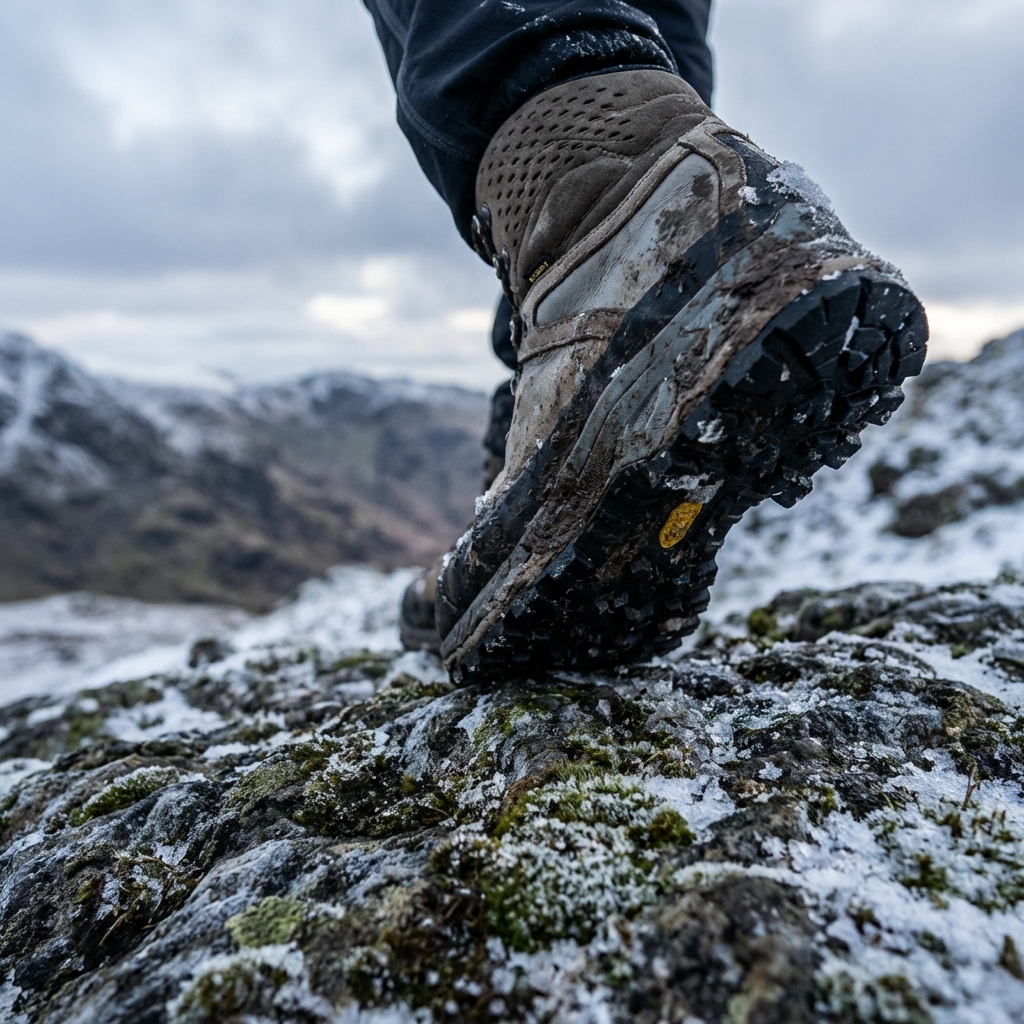
Each exposure teaches your boots and feet something new. Steep descent forces your boots to manage impact differently than climbs. Rocky scree demands precision footwork that only happens when boots are truly stable. Rain and mud reveal how your boots manage moisture and traction.
Most importantly, these varied exposures show you where your boots genuinely perform. You’re moving past “do they fit” into “do they deliver on their design promise.” That’s the mark of proper conditioning.
Complete two to three varied hikes of increasing difficulty during this stage. Then rest for a week and reassess. Your boots should feel less like borrowed gear and more like an extension of your legs.
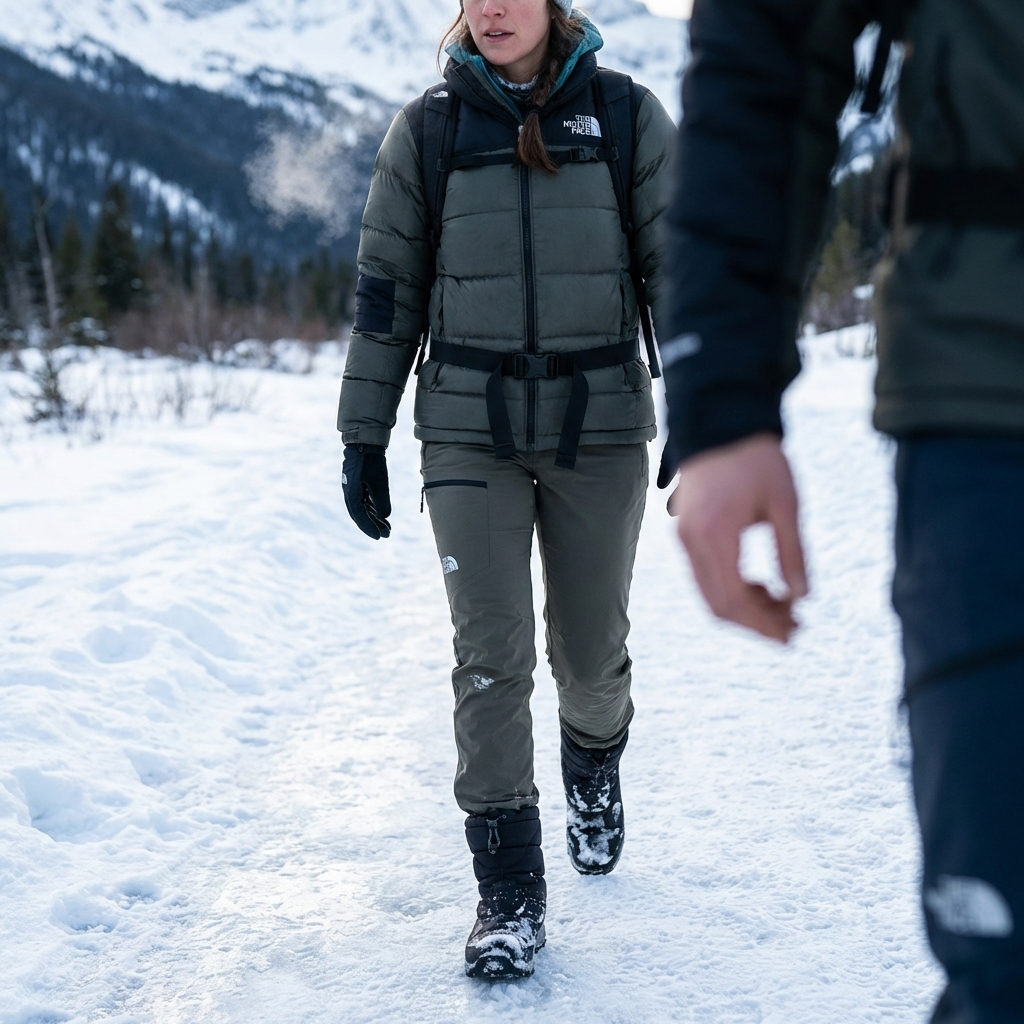
The Difference Our Protocol Makes for Your Feet
Hikers who follow this structured approach report a consistent outcome: boots transition from uncomfortable to indispensable within four to six weeks. That timeline feels long until you compare it to the alternative: spending months managing blisters and hotspots or worse, abandoning boots that could have been perfect with better conditioning.
The science here is straightforward. Your feet have 26 bones, 33 muscles, and complex neural feedback systems. New boots provide unfamiliar support patterns. That nervous system needs time to interpret the new input and adjust muscle recruitment accordingly. You can’t accelerate that biological process, but you can guide it intelligently.
When boots are properly conditioned, they stop feeling heavy and start feeling responsive. Traction improves. Blister risk drops to nearly zero. Your hiking becomes about the trail and the view, not about managing foot pain.
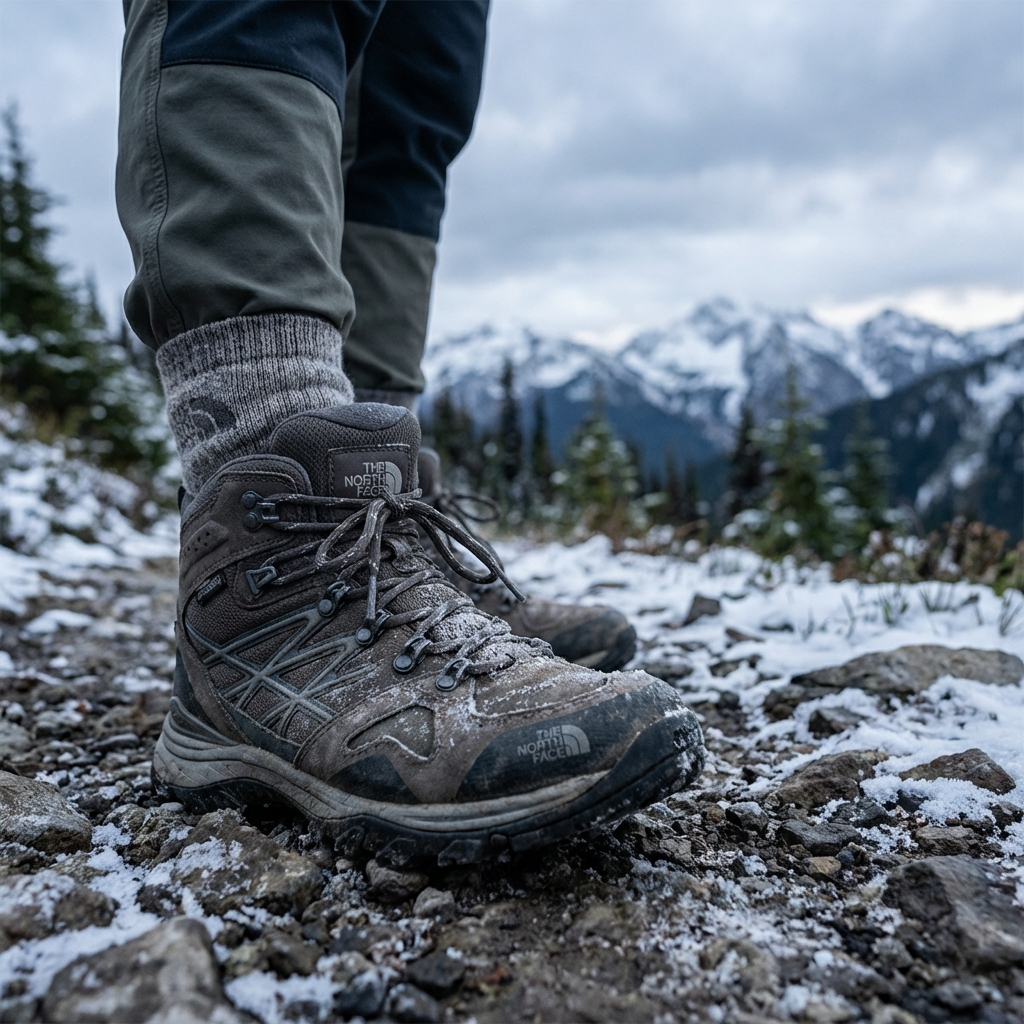
We’ve designed our conditioning approach so every major technical feature of our boots gets properly activated. The Gore-Tex breathability, the cushioned midsoles, the ankle support architecture, the tread pattern, the heel counter design. These aren’t just marketing words. They’re performance systems that require proper introduction.
Key Features That Accelerate Our Boot Break-In
Our high-performance hiking boots include specific design choices that make conditioning faster and more comfortable than older boot designs.
Our moisture-management systems (like Gore-Tex in models such as the Blackout Verto SA Gore-Tex Boots) prevent sweat buildup during those initial wearing sessions. Sweat creates friction and hotspots. Eliminate excess moisture, and you eliminate a major source of discomfort.
Our padded collars and gusseted tongues distribute pressure evenly rather than creating hard edges. Traditional boots forced your foot to adapt to uncomfortable seams and ridges. Our design adapts to your foot instead.
We also engineer our midsoles with multi-density cushioning that activates through your wear cycles. The first few hikes, they feel firm. By week three, they’ve settled into a supportive but responsive feel. This isn’t boots getting “broken in” by damage, it’s materials reaching their optimal performance state.
Additionally, our lacing systems include multiple anchor points so you can customize pressure distribution. Heel slipping? Tighten the heel lock separately. Arch pressure too high? Adjust just that zone. This granular control means you’re not stuck with one uncomfortable solution.
Real Explorer Stories: From Blisters to Summit-Ready
Marcus bought our Summit Series Verto FA Boots planning a 14,000-foot peak attempt in six weeks. After wearing them on a two-hour casual hike, he nearly returned them. The midfoot felt cramped, and his arches fatigued quickly.
Rather than give up, he followed our conditioning protocol. He spent two weeks doing easy 45-minute walks, focusing on adjusting his arch support and letting his feet adapt. Week three brought longer hikes on gentler terrain. Week four, he tackled a 3,000-foot elevation gain trail and felt truly stable for the first time. By week five, he was hiking steep alpine scree without hesitation. His summit day? The boots performed flawlessly across 8,000 vertical feet. He told us the boots saved his attempt.
Another explorer, Keisha, bought the same model for a multi-day backpacking trip. Her mistake was skipping stage one entirely, jumping straight to a 12-mile first outing. She got severe blisters by mile eight and spent two miserable days limping through her trip. What frustrated her most wasn’t the boots, it was realizing the blister damage set her back months in actual conditioning.
She came back and did it right: three weeks of graduated hiking following our protocol. When she finally tackled a five-day trip in similar terrain, those same boots carried her comfortably. She called it the difference between suffering and exploring.
Common Break-In Mistakes We Help You Avoid
The biggest mistake is expecting immediate comfort. New boots won’t feel like worn-in sneakers on day one, and that’s intentional. The stiffness you feel is engineered support waiting to be activated. Comfort comes through conditioning, not despite the break-in process.
A second critical error is skipping recovery days. Some hikers think, “I’ll wear them every day to speed things up.” This actually backfires. Your feet need recovery time to adapt to new support patterns. Constant wear without rest creates inflammation and increases injury risk.
Equally damaging is pushing through pain without diagnosis. Discomfort isn’t always a sign of a bad fit. Sometimes it’s a hotspot that needs blister prevention tape. Sometimes it’s a lacing adjustment. Sometimes it’s simply that your feet need another day of rest. Diagnose before escalating intensity.
Many hikers also blame the boots for issues caused by socks. Thin cotton socks create friction. Wrong thickness creates pressure points. We recommend merino wool or technical synthetic blends specifically because they manage moisture and padding better than cotton. The boots aren’t failing, the socks are.
Finally, never sacrifice fit for style or price. Our boots are available in multiple widths and fits because feet come in different shapes. If the medium feels off, try a wide. If a model doesn’t suit your arch, try another. Finding your actual fit is the foundation of everything else.
When to Expect Peak Performance From Your Boots
Honest timeline: four to six weeks of structured conditioning will get you to a solid baseline. Your boots will be comfortable for full-day hikes and you’ll trust them on technical terrain.
Peak performance, where boots feel like extensions of your feet and you stop thinking about them entirely, typically arrives around week eight to twelve. This is when all the micro-adaptations in your feet and the material settling in your boots align into seamless partnership.
That doesn’t mean waiting three months before your first real adventure. It means being strategic about that adventure’s difficulty. A month in, your boots are absolutely capable of handling a full-day hike. At six weeks, you’re ready for challenging terrain. By three months, they’re ready for anything you are.
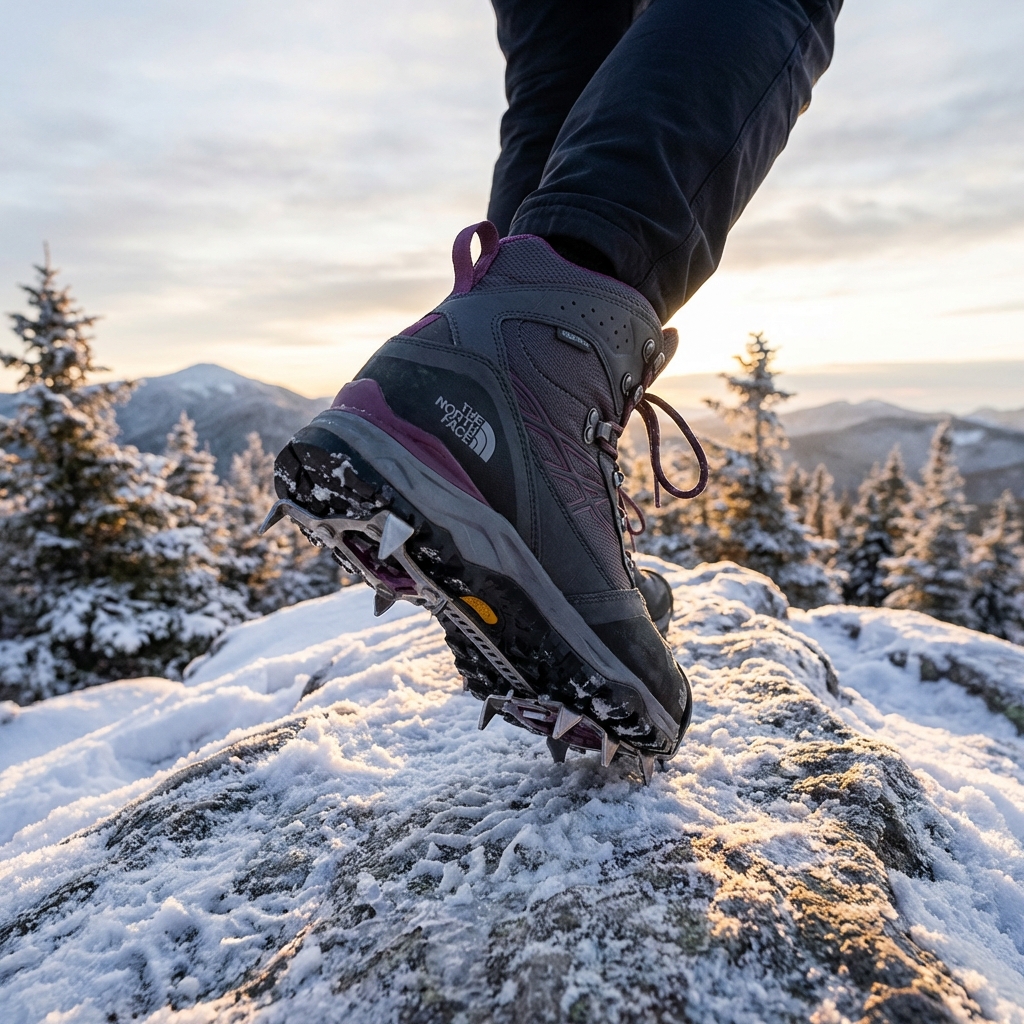
Some technical features also take time to fully appreciate. Traction feel improves as your feet learn to trust edge control. Ankle support becomes more obvious on technical ground than on smooth trails. Insulation performance matters more when you hit cold weather. Gradual exposure to varied conditions teaches you what your boots can actually do.
Choose Our Proven Protocol for Confident Adventures
The difference between hikers who love their boots and those who regret their purchase almost always comes down to conditioning approach. We’ve invested decades into designing boots with technical performance you need. Our protocol ensures you actually access that performance instead of fighting the gear.
This isn’t complicated. It’s four to six weeks of intentional, graduated exposure following a three-stage framework. Rest between efforts. Pay attention to feedback. Adjust as needed. By the time you’re ready for the adventure you bought these boots for, they’ll be ready too.
Your feet are unique. Your hiking goals are specific. Your terrain varies. Our conditioning protocol respects all of that by giving boots and feet time to build genuine compatibility before you ask them to perform under real pressure.
Start with stage one this week. Choose an easy 45-minute walk and pay close attention to how your boots feel. Note any hotspots. Make small adjustments. Rest well. That simple beginning is where boots transform from uncomfortable new gear into trusted companions. We’ve seen it happen thousands of times. Your turn is next.
Ready for your next adventure? Gear up with apparel and equipment built for the wild. Explore the collection now.
Frequently Asked Questions (FAQ)
How long does it typically take to break in a pair of our hiking boots?
We’ve found that most explorers move through our three-stage conditioning protocol in about 2-3 weeks, depending on how frequently you’re on the trail. Our initial comfort assessment usually takes just one or two short outings, while controlled distance training spans several hikes over 7-10 days. The final weather and terrain progression phase lets you gradually introduce challenging conditions, so your feet adapt naturally rather than being shocked by extreme environments.
What makes our boot break-in approach different from just wearing new boots until they feel comfortable?
We’ve engineered our conditioning protocol around how your feet actually adjust to technical footwear, rather than leaving it to chance. Our staged approach uses specific distance and terrain milestones to train your feet and let the materials adapt together, which prevents the blisters and hot spots that traditional break-in methods often cause. We also factor in our boots’ unique materials and construction features, so you’re working with the design rather than against it.
Can I skip ahead in your break-in stages if I’m eager to hit the trail?
We understand the urge to get out there, but we’ve learned through countless explorer experiences that skipping stages usually leads to discomfort that could have been avoided. Each stage serves a purpose: the initial assessment identifies any fit adjustments you need, controlled distances build tolerance gradually, and weather progression prepares you for real conditions. Staying with the protocol actually gets you to summit-ready feet faster and safer than pushing too hard too soon.