Table of Contents
- Start With Proper Fit and Sizing at Home
- Gradually Increase Your Wearing Duration Indoors
- Use Our Proven Moisture-Wicking Sock System
- Apply Strategic Stretching and Conditioning Techniques
- Target Problem Areas With Our Innovative Padding Solutions
- Practice Short Day Hikes Before Committing to Multi-Day Treks
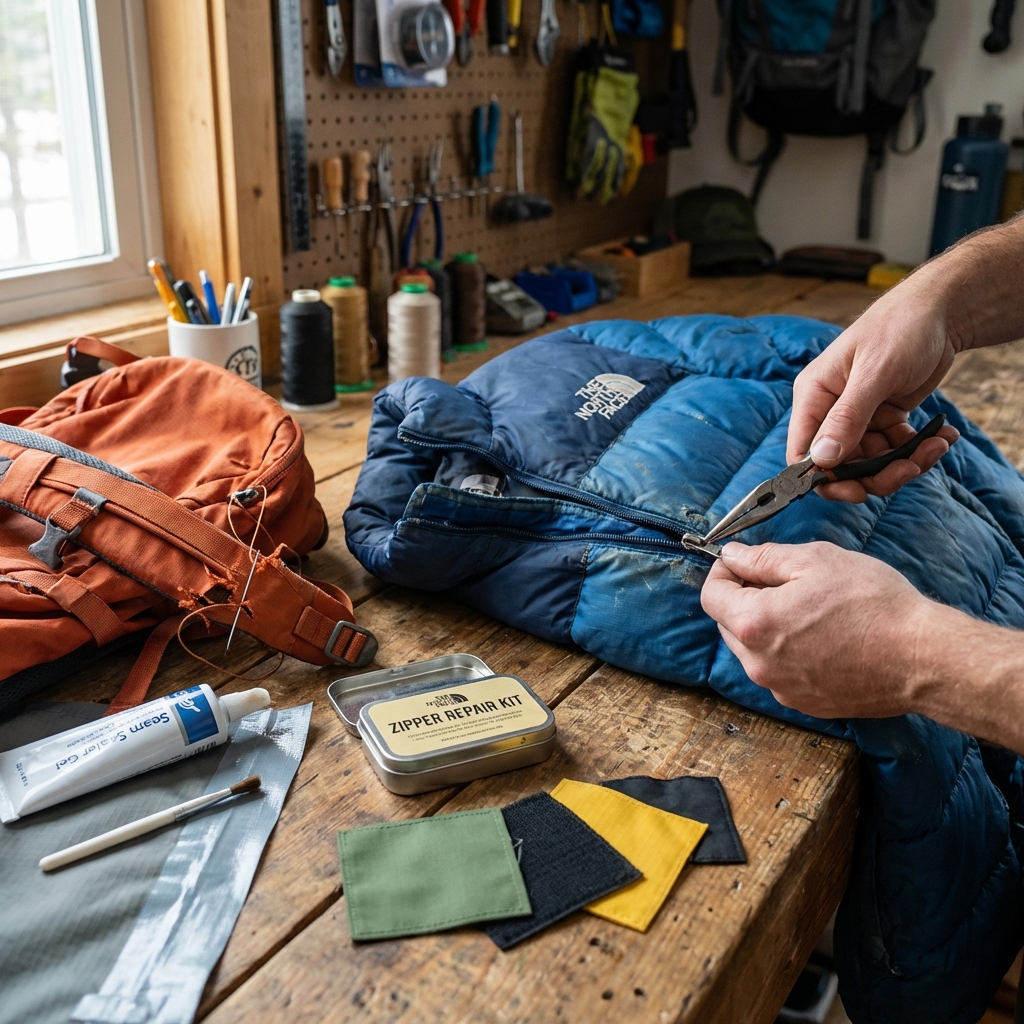
- Maintain Your Boots With Our Professional Care Methods
- Frequently Asked Questions (FAQ)
Start With Proper Fit and Sizing at Home
New hiking boots are like untamed terrain: full of potential but demanding respect. We know the frustration of unwrapping a pristine pair, lacing them up with hope, and hitting a blister by mile three. After decades of engineering technical footwear and listening to thousands of hikers, we’ve learned that boot break-in isn’t something to rush or ignore. It’s the foundation of every successful multi-day trek.
The difference between boots that feel like extensions of your feet and boots that become torture devices comes down to preparation. We design our hiking boots with precision fit and durable materials, but even the best-engineered boot needs time to adapt to your unique foot shape and gait. The good news: a structured break-in process takes just a few weeks and prevents the kind of pain that cuts expeditions short.
Here are our proven strategies for breaking in boots properly so you’re ready for whatever the mountains throw at you.
The single biggest mistake we see is assuming your regular shoe size translates directly to hiking boots. It doesn’t. Hiking boots demand room for thick technical socks, space for your foot to expand during long days, and enough heel volume to prevent slippage on descents. When you order online or buy in-store, this first step makes or breaks everything that follows.
Fit your boots in the afternoon or early evening when your feet are naturally slightly swollen from daily activity. This mimics the conditions your feet will be in on the trail. Wear the socks you actually plan to hike in, not thin cotton socks. The heel should lock in place without pinching; you should be able to wiggle your toes, and there should be roughly a thumb’s width of space at the toe box.
Walk around your home for 15 to 20 minutes to test the initial feel. Check for pressure points across the arch, around the heel counter, or along the sides of your foot. If something hurts sharply right away, it’s probably not the right size or shape for your foot. We offer both men’s and women’s specific fits because foot geometry differs, and getting the architecture right from the start saves weeks of frustration.
Your action: Order two sizes if you’re uncertain, try them on indoors with your actual hiking socks, and return the pair that doesn’t feel naturally snug yet comfortable. Proper fit is non-negotiable.
Gradually Increase Your Wearing Duration Indoors
Patience beats speed every single time in boot break-in. Your foot ligaments, tendons, and muscles need time to adjust to new support patterns, and the boot materials themselves need to soften slightly. We recommend an incremental indoor wearing schedule before you ever step onto a trail.
Week one: Wear your boots around the house for 30 to 45 minutes daily. Walk on flat surfaces, climb stairs, and move around normally. The goal isn’t to feel perfect yet; it’s to let your foot and the boot learn each other without the stress of terrain or elevation.
Week two: Extend indoor wear to 60 to 90 minutes per session, three to four times that week. Add some light activity like household chores or standing while working. Your foot will start to adapt to the arch support and heel structure. Pay attention to any emerging hot spots; mark them mentally for our padding solutions in a later step.
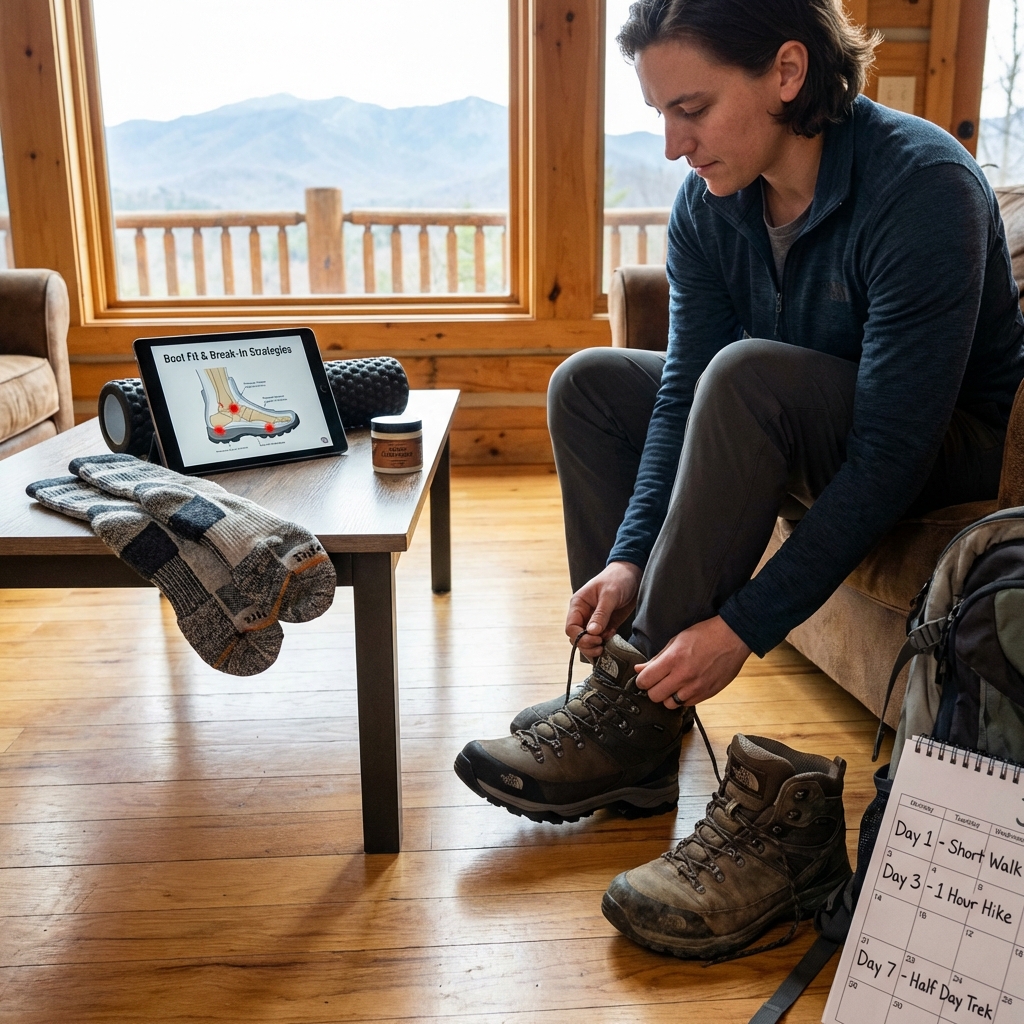
By week three, most hikers can wear their boots for two to three hours indoors without complaint. This indoor phase is when the leather or synthetic upper begins to soften, and the insole starts to mold to your foot’s contours.
Your action: Block out 15 to 20 minutes daily for the next two to three weeks before your first real hike. Think of it as preventive medicine for your feet.
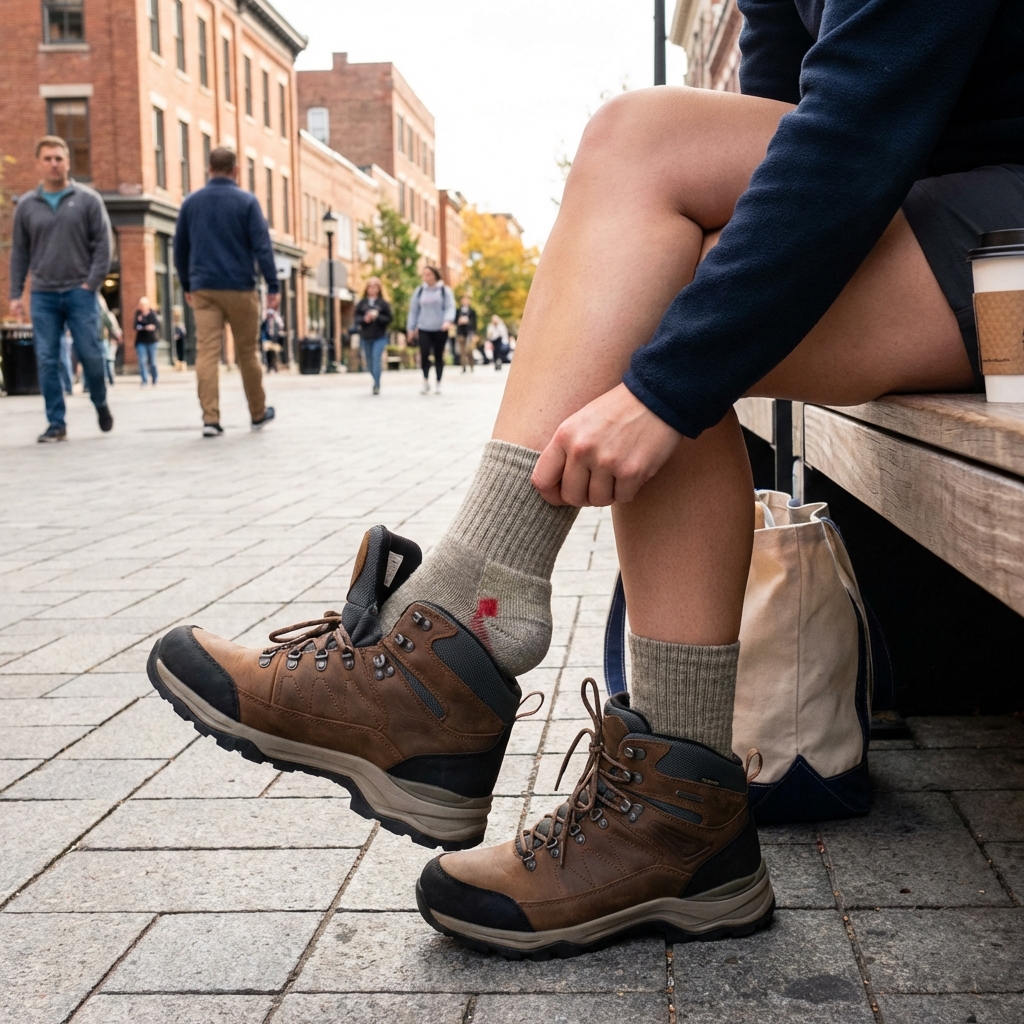
Use Our Proven Moisture-Wicking Sock System
Boot fit is only half the equation; the right socks are the other half. We’ve engineered our sock systems specifically to work with our boot construction, and this pairing is critical during break-in. Cheap cotton socks absorb sweat, create friction, and accelerate blister formation. Technical socks manage moisture, reduce chafing, and provide cushioning exactly where your foot needs it most.
Look for socks with merino wool or synthetic blends like polyester and nylon that wick moisture away from your skin. Merino wool is naturally temperature-regulating and antimicrobial, so your feet stay dry and odor-free even on multi-day treks. The cushioning should be moderate to substantial in the heel and ball of your foot, where impact and pressure concentrate.
During your break-in phase, these socks do double duty: they improve comfort immediately and protect your feet from the friction that causes blisters. We’ve found that hikers who invest in quality technical socks report significantly fewer break-in complaints and faster adaptation to new boots.
Pair your boots with high-quality technical socks during every wear, including your indoor sessions. This ensures your foot is experiencing the exact conditions it will face on the trail. If you switch to thin socks for indoor testing and thick socks for hiking, you’re introducing variables that defeat the purpose of gradual break-in.
Your action: Grab two to three pairs of quality hiking socks designed for mountaineering or trekking. Test them during your indoor phase so you and your boots are truly synchronized by the time you hit the trail.
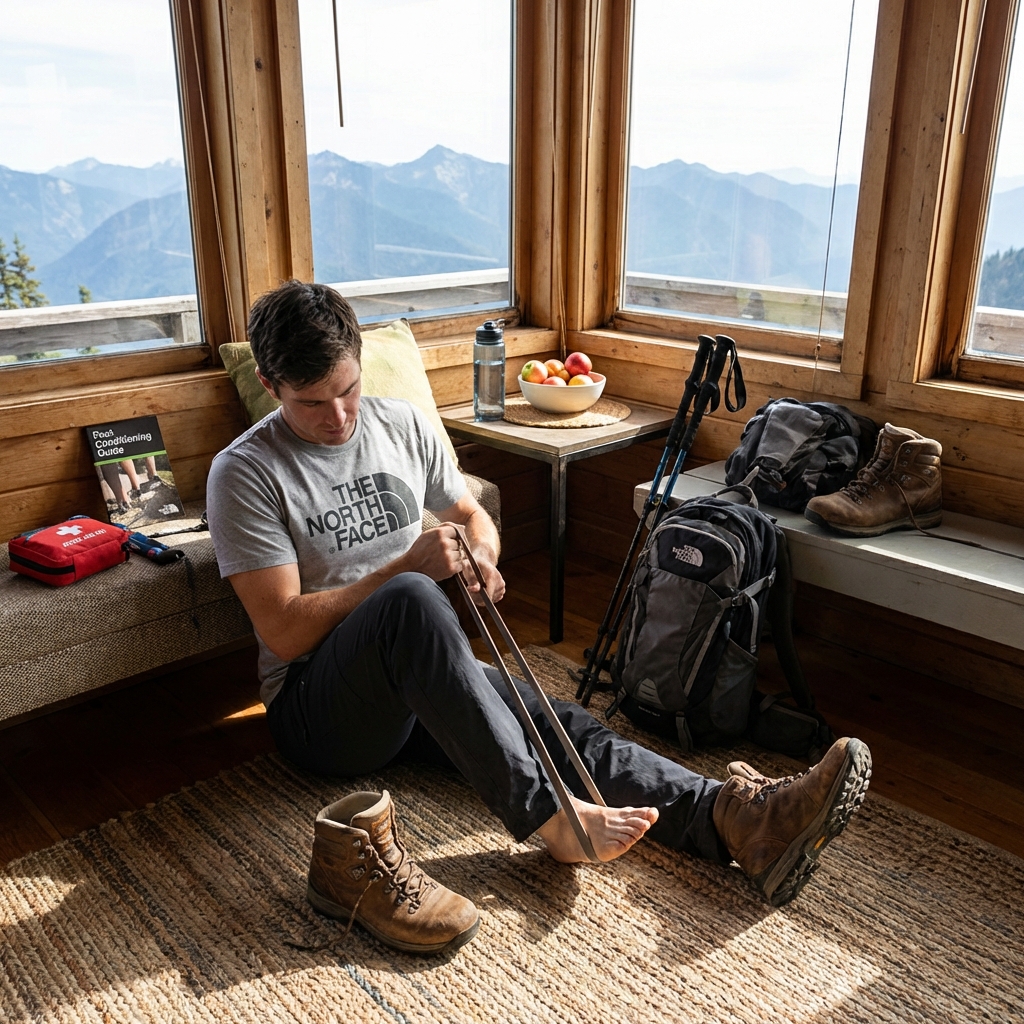
Apply Strategic Stretching and Conditioning Techniques
Your feet work harder on the trail than anywhere else, and conditioning them before a multi-day trek matters as much as conditioning the boots. Flexible, strong feet are more resilient to the friction and pressure that create blisters. We recommend a simple routine you can do while wearing your new boots or immediately after taking them off.
Calf stretches are essential. Stand facing a wall, place one foot behind you with your heel flat, and lean forward gently until you feel a stretch in your calf. Hold for 30 seconds per leg, three times. Tight calves force your foot and ankle to compensate, creating pressure points inside the boot.
Toe flexion exercises also help. While sitting, curl your toes downward, hold for two seconds, then spread them wide and hold again. Repeat 10 to 15 times. This strengthens the intrinsic muscles in your foot and improves your foot’s ability to adapt to varied terrain without strain.
Consider rolling a tennis ball or specialized foot roller under your arch while seated. This self-massage loosens tight fascia and improves blood flow. Spend two to three minutes on each foot, paying extra attention to your arch and heel.
Your action: Spend five minutes daily on these stretches and exercises. Start two weeks before your trek and continue throughout your break-in phase. Your feet will feel noticeably more resilient and responsive.
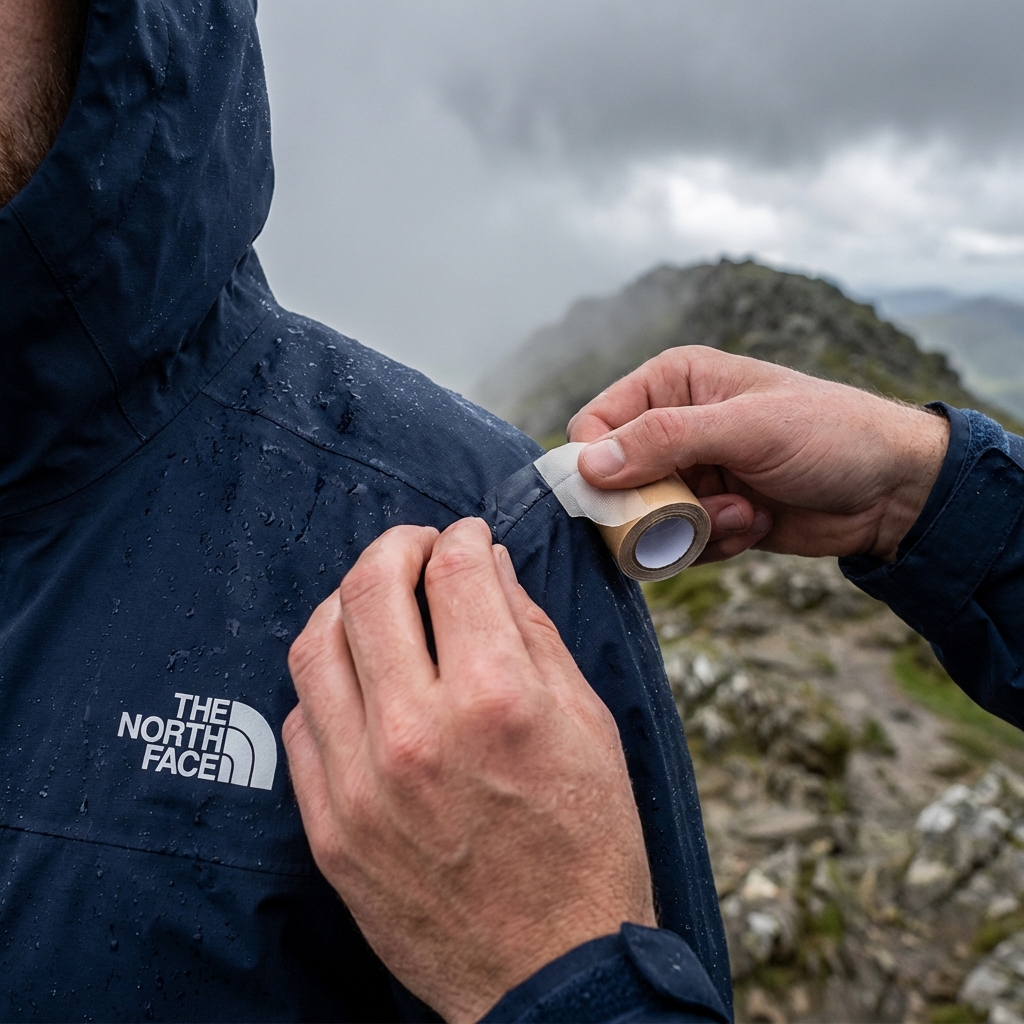
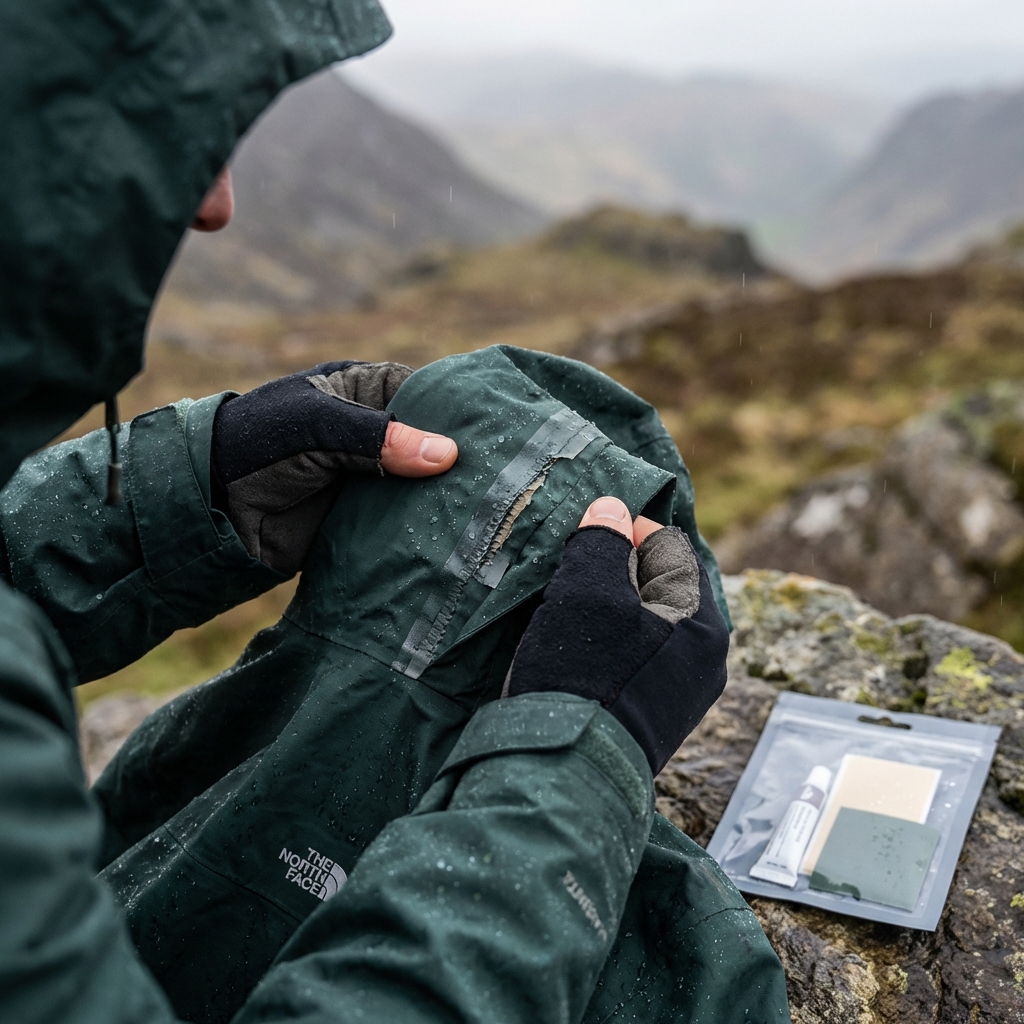
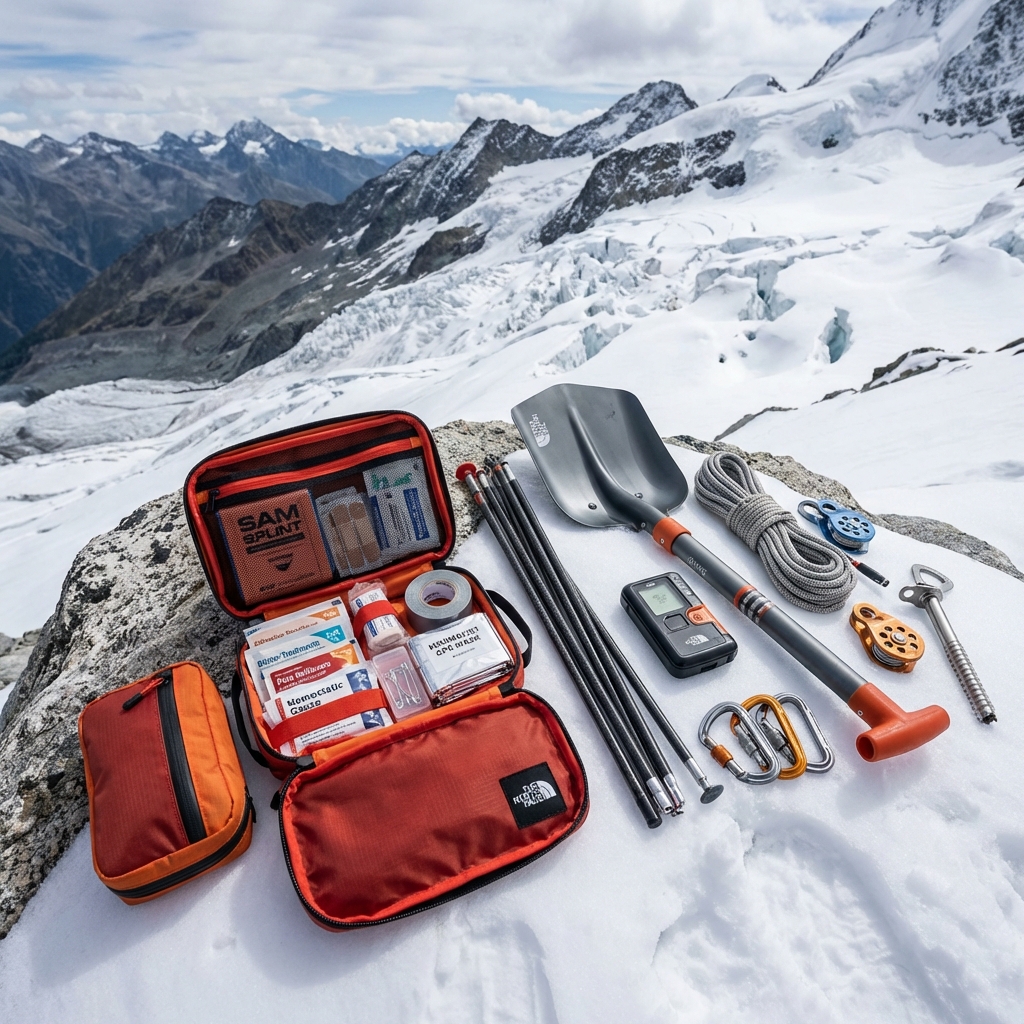
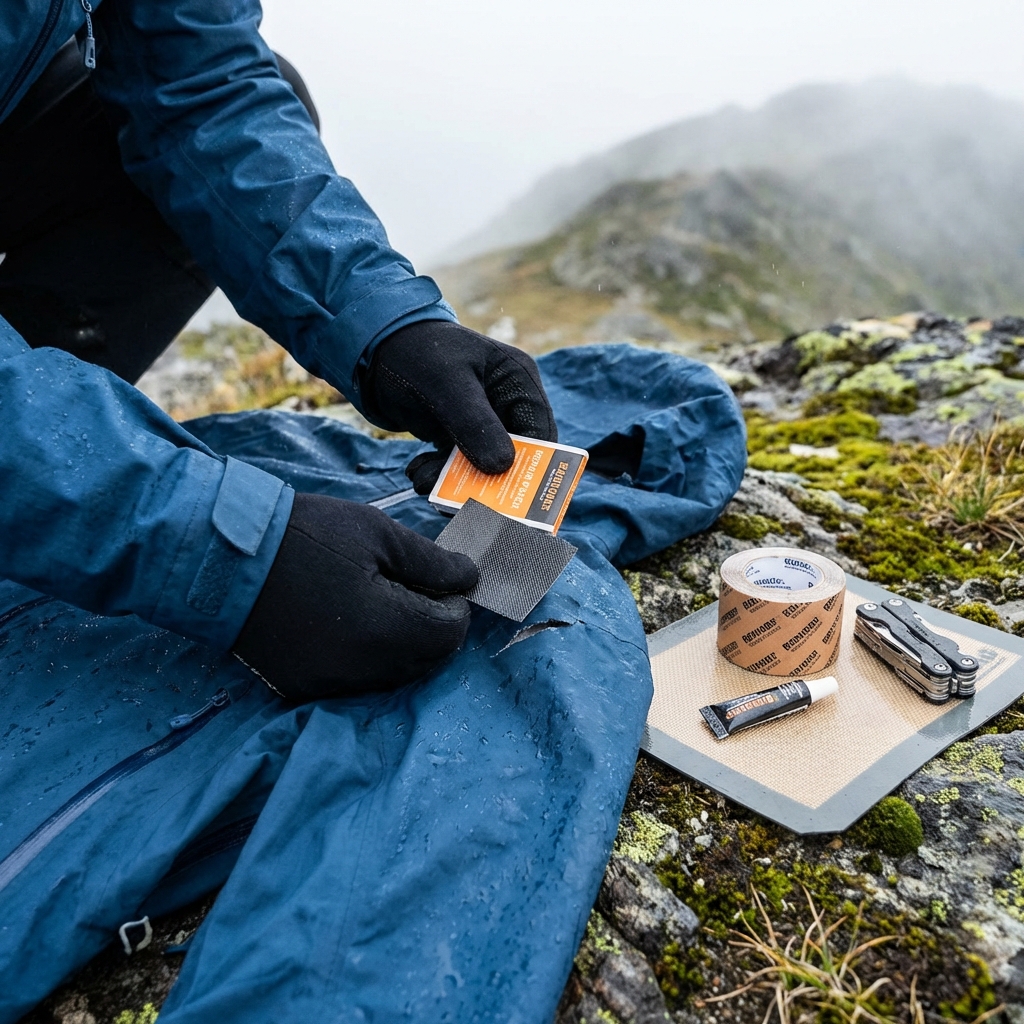
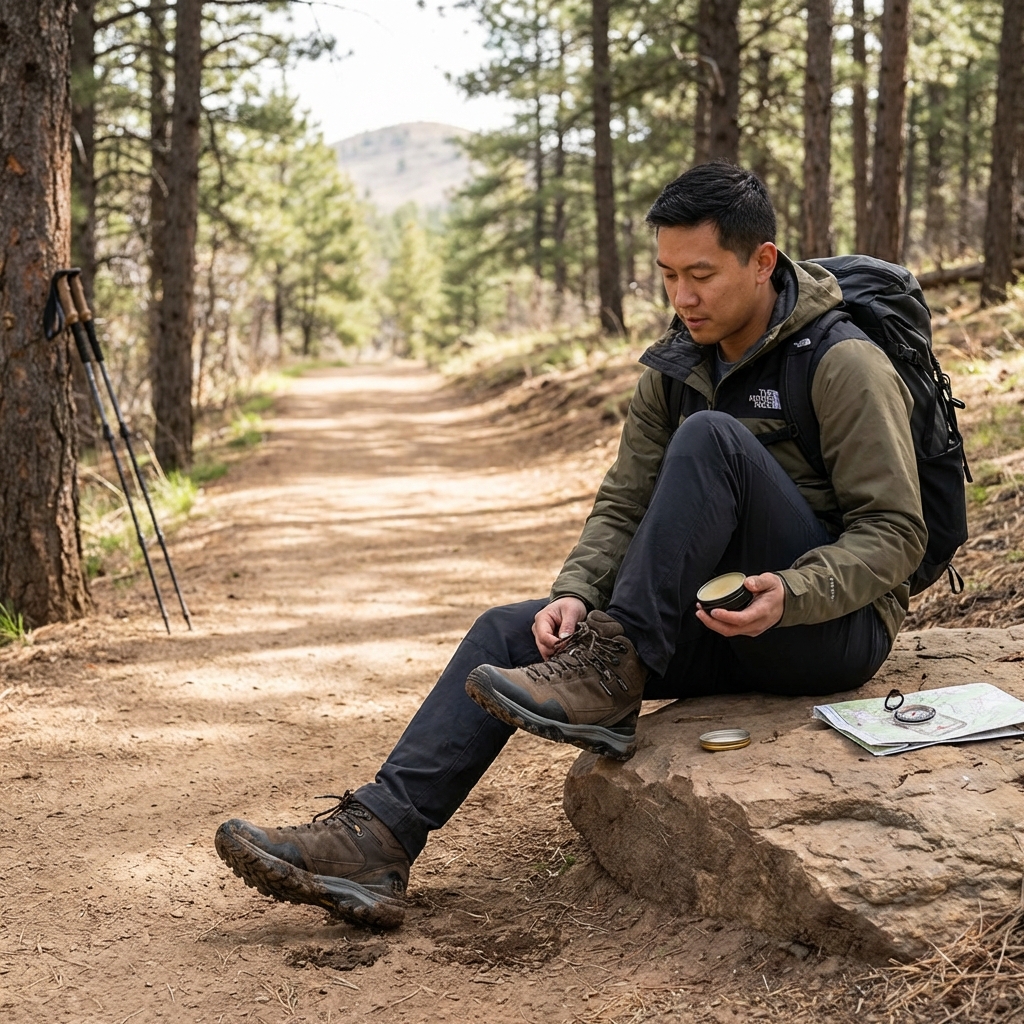
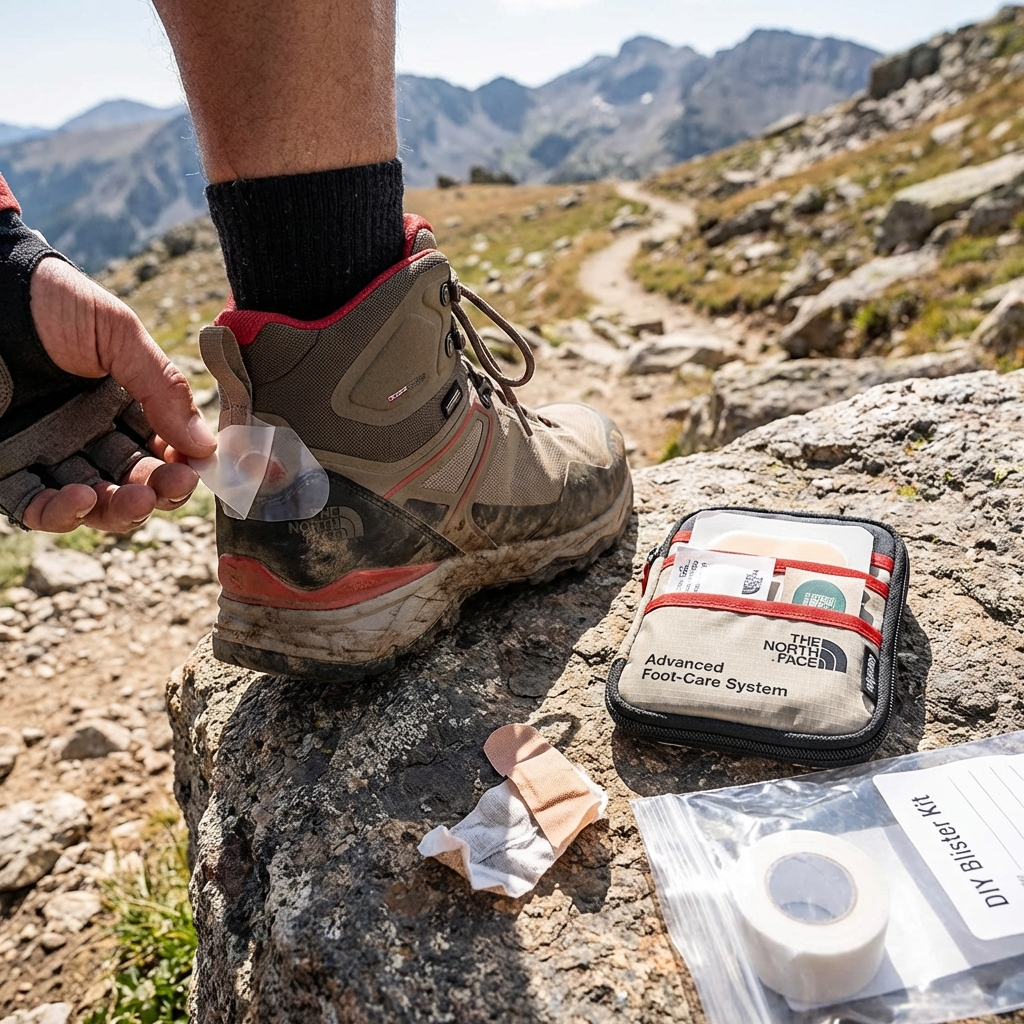
Target Problem Areas With Our Innovative Padding Solutions
Even with perfect fit and gradual wear, hot spots sometimes develop. We’ve designed strategic padding solutions that address the most common pressure points: the heel counter, the ball of your foot, and the sides of your foot where the boot’s structure meets softer tissue.
Blister shields or gel pads can be applied to the inside of your boot at known friction points. Place them on your heel if that’s where you feel pressure, or on the side of your pinky toe if that’s your trouble zone. These thin, adhesive pads distribute pressure more evenly and reduce rubbing without adding bulk.
Moleskin is an older but effective solution for smaller hot spots. Cut it to size, round the corners so edges don’t peel, and apply directly to your foot or the inside of the boot at the problem area. It’s removable and adjustable, so you can experiment with placement during your break-in phase.
For stubborn pressure points, consider a professional boot fitting at one of our retail locations. Our experts can assess your gait, foot shape, and boot performance, and recommend customized padding placement. Some hikers benefit from insole modifications or heel lifts that adjust the boot’s geometry to their unique needs.
Your action: Identify your specific hot spots during week two of indoor wear, and apply targeted padding before they escalate to blisters. This proactive approach turns break-in discomfort into managed adaptation.
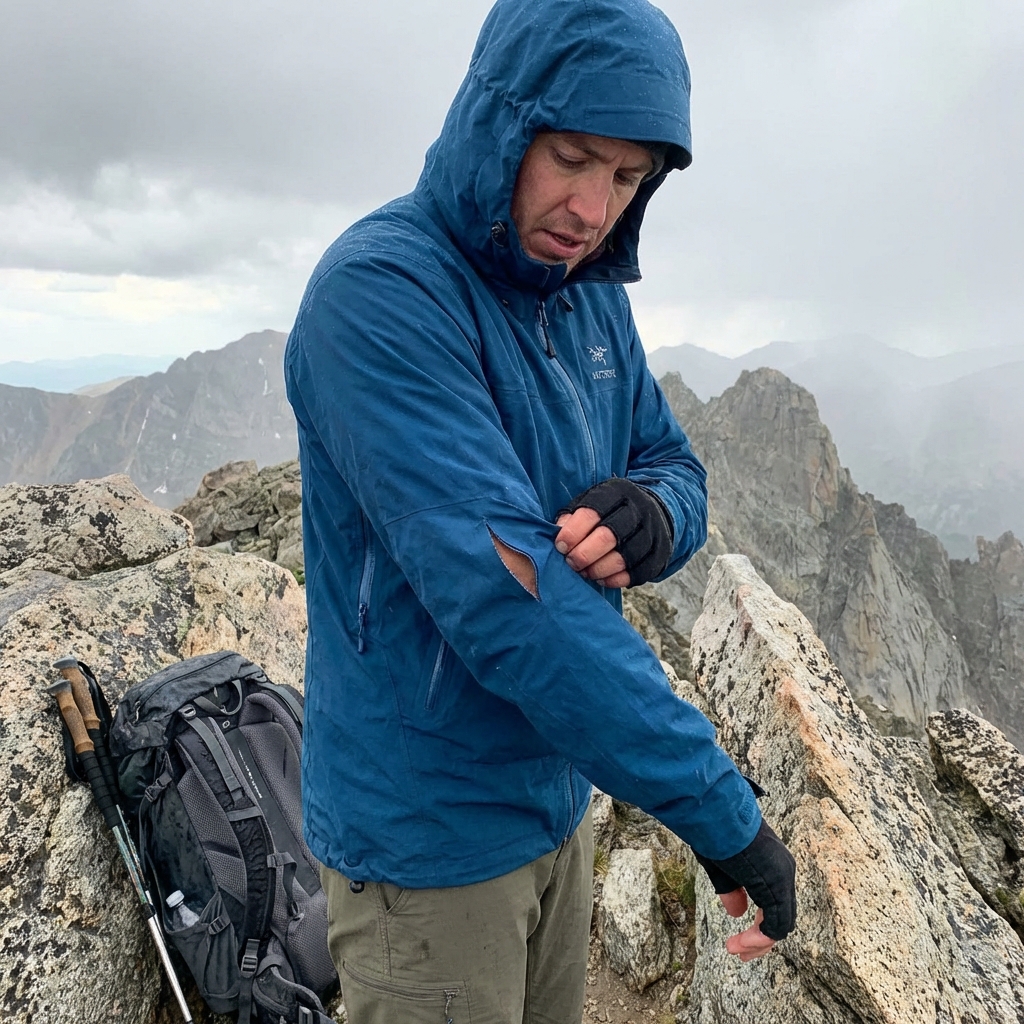
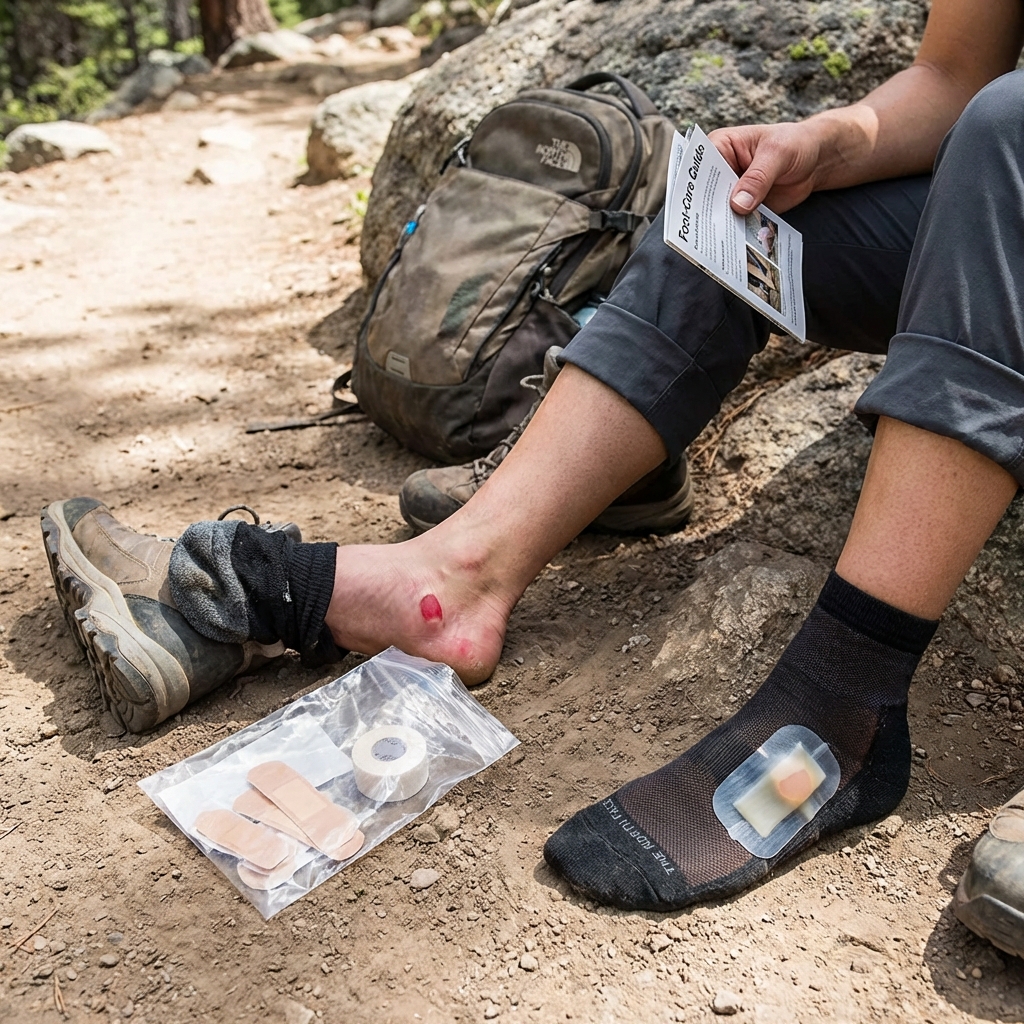
Practice Short Day Hikes Before Committing to Multi-Day Treks
This is where theory meets reality. A short day hike is your dress rehearsal for the multi-day trek. You’ll discover how your boots perform under load, how your feet respond to elevation change, and whether any remaining issues need addressing before you’re five miles from the nearest trail exit.
Schedule a four- to six-mile hike on gentle terrain with minimal elevation gain. Wear your new boots, your technical socks, and your actual backpack weight (or close to it). Pay attention to how your feet feel at mile one, mile three, and mile six. Hot spots that seemed minor indoors can announce themselves loudly on the trail. That’s exactly the feedback you need.
After your short hike, examine your feet immediately. Are there any red marks or blisters forming? Does your foot feel stable on uneven ground, or do your ankles feel unsupported? Did your heel slip at any point? This information tells you whether you’re ready for a longer trek or need another week of break-in and padding adjustments.
Most hikers find that after one or two short day hikes, their boots feel substantially more comfortable. The combination of indoor conditioning, sock selection, and real-world terrain exposure creates a gear-foot connection that just doesn’t happen in your living room.
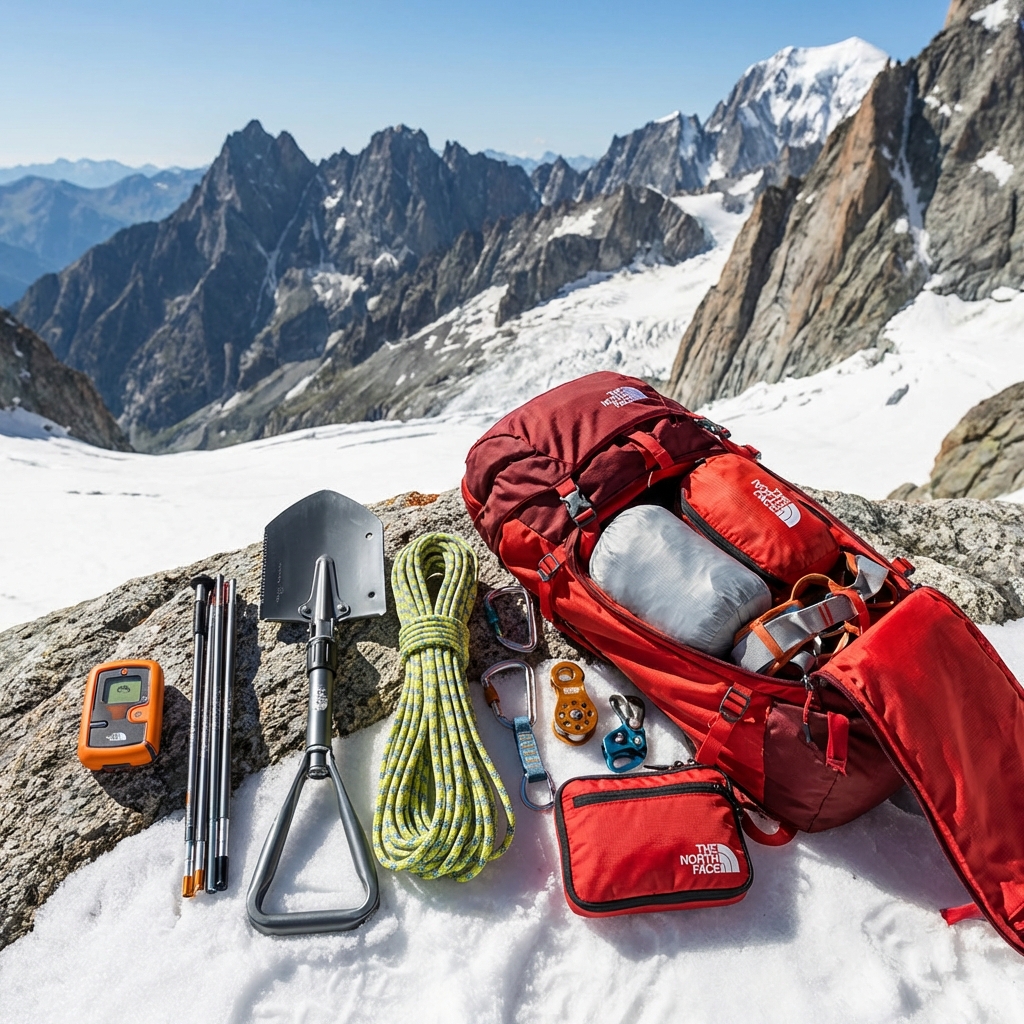
Your action: Schedule your short day hike after at least three weeks of break-in preparation. Choose terrain you know well so you can focus on how your feet feel rather than navigation. Bring blister supplies, extra socks, and a willingness to turn back early if something serious develops.
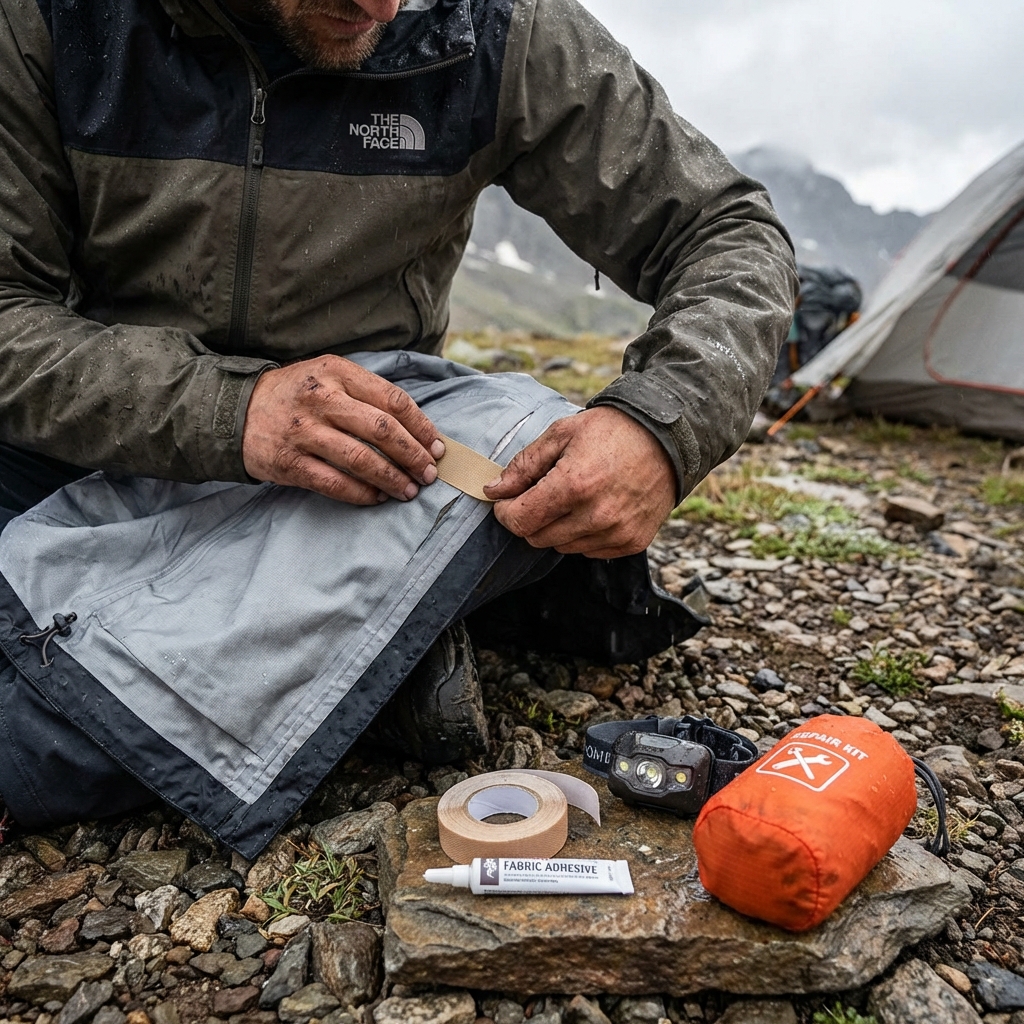
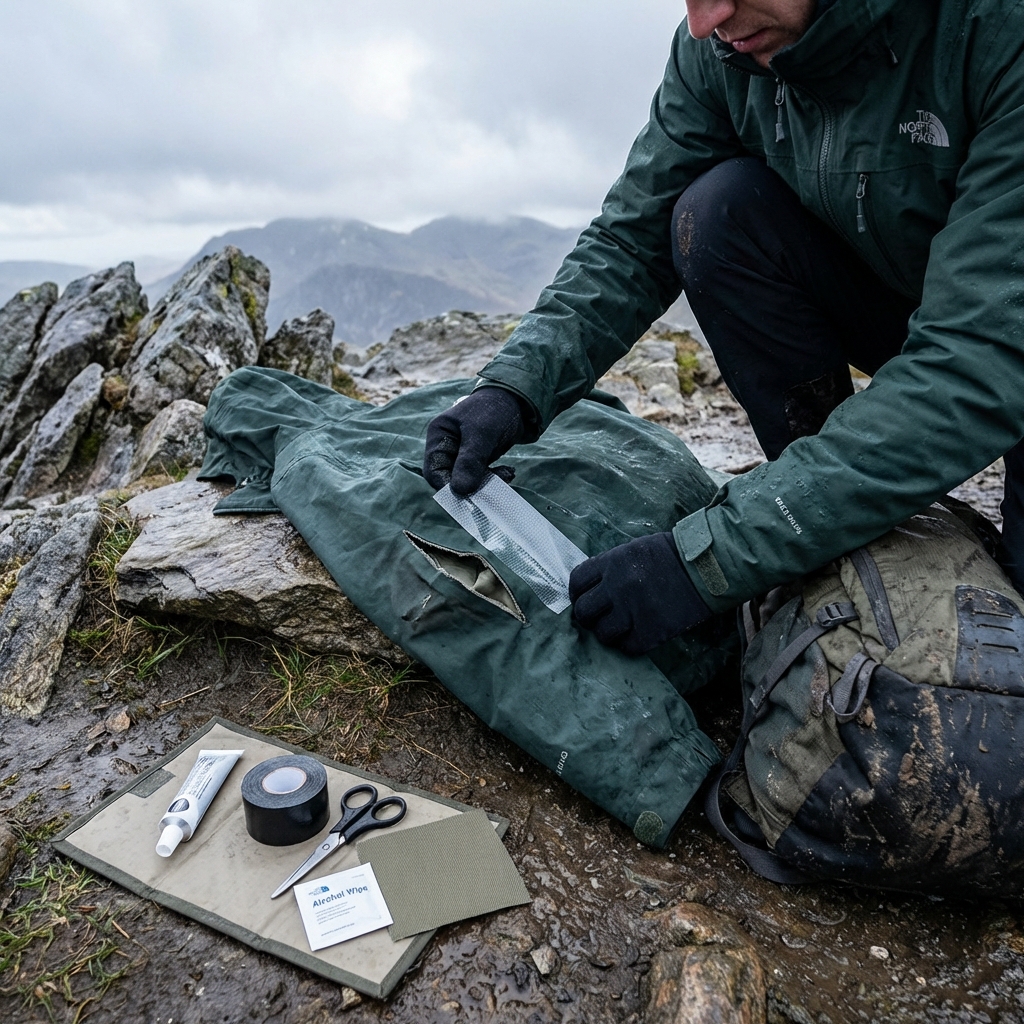
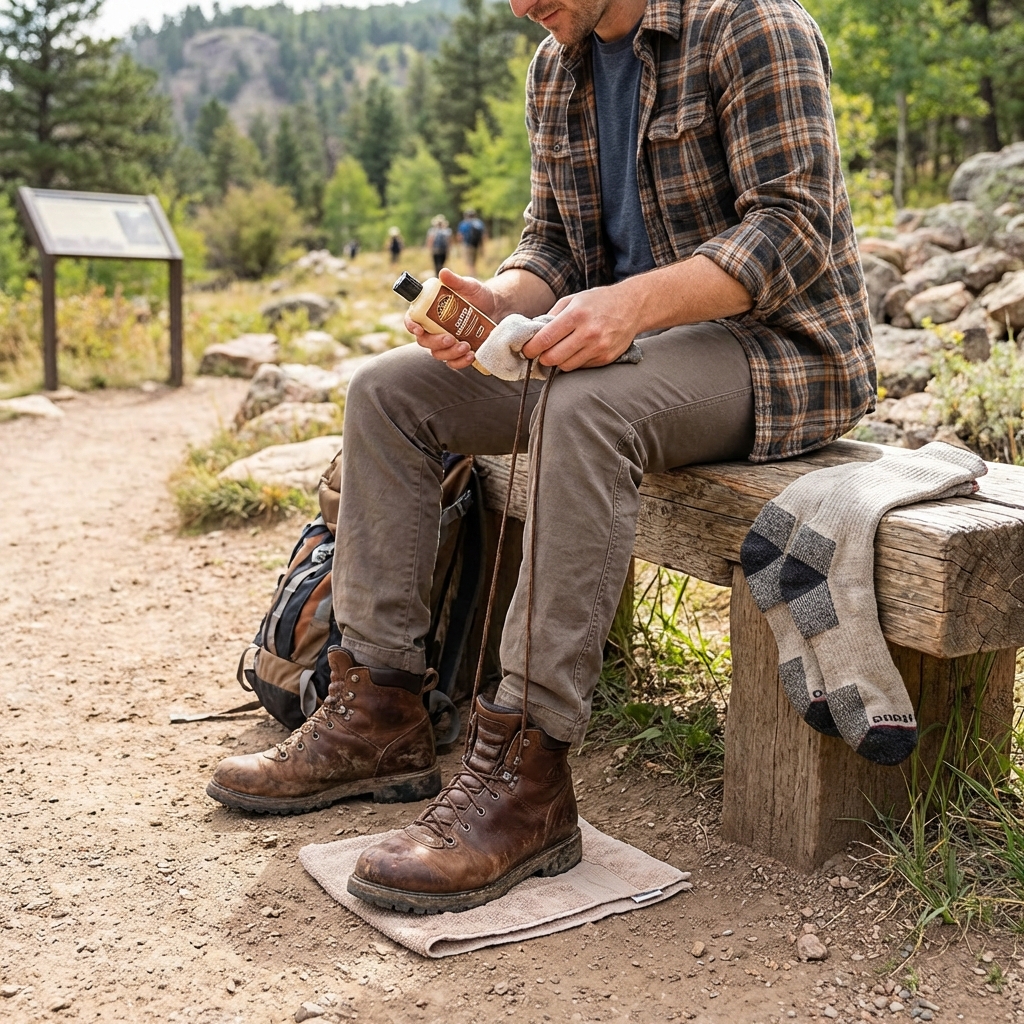
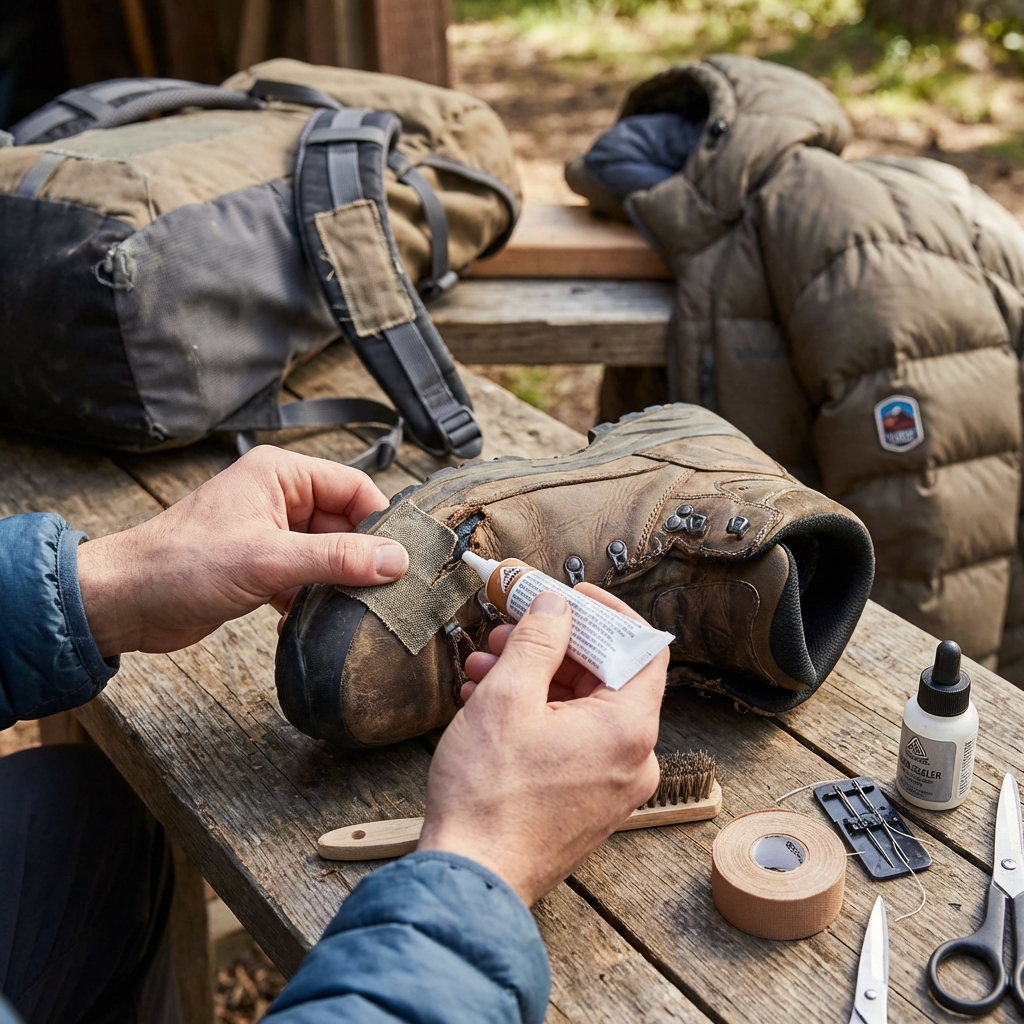
Maintain Your Boots With Our Professional Care Methods
Break-in doesn’t end when your trek begins; it extends into the months and years of ownership. Proper maintenance keeps your boots performing at their peak and preserves the investment you’ve made in quality footwear.
After every hike, clean your boots with a soft brush and lukewarm water to remove dirt, salt, and debris. Allow them to air-dry at room temperature, never in direct heat or sunlight, which can crack leather and damage synthetic materials. Stuff them with newspaper to maintain shape and absorb internal moisture. Replace the newspaper once or twice as it saturates.
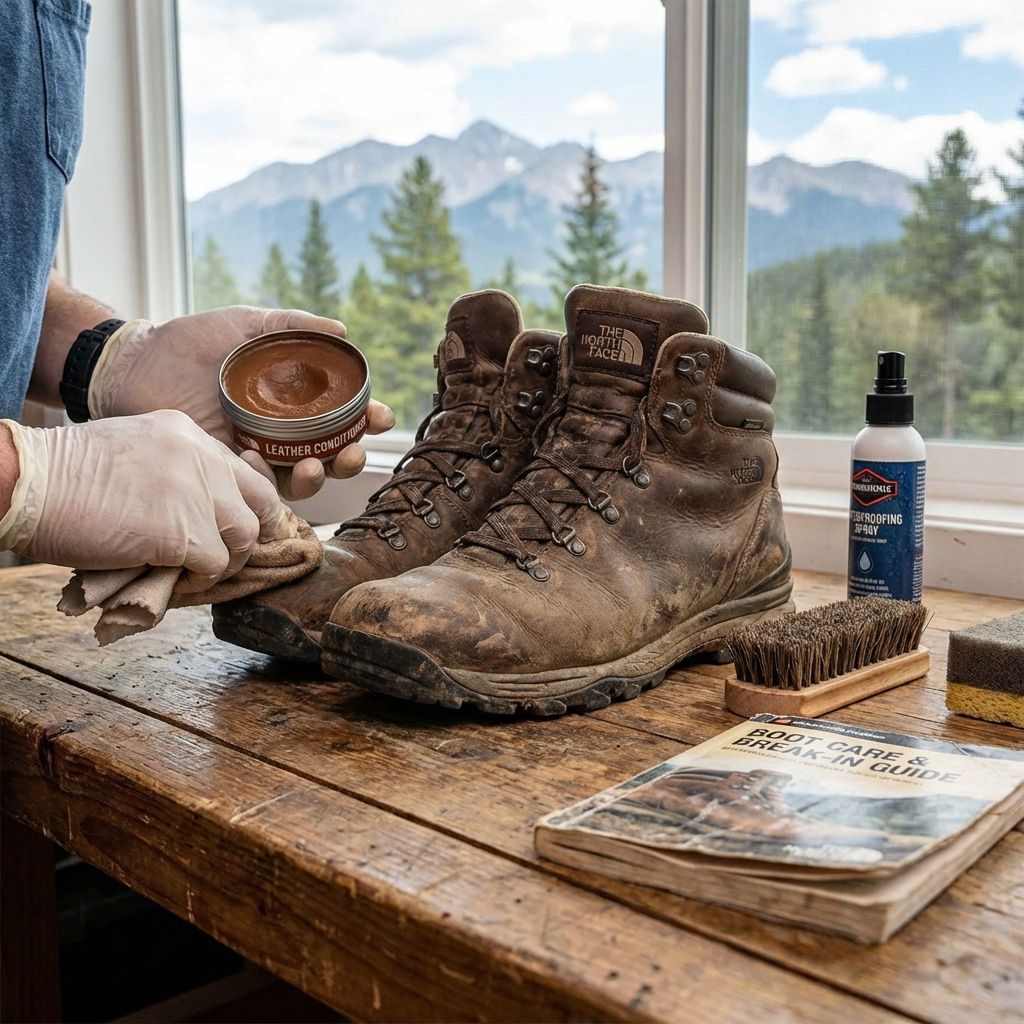
Every few months, condition leather boots with a specialized boot cream or conditioner. This keeps the leather supple and water-resistant. Synthetic boots benefit from periodic cleaning with mild soap and a soft cloth. Gore-Tex linings and seams require special care; we recommend gentle hand-cleaning with cool water and minimal agitation.
For extended life, consider professional boot reconditioning service every couple of years. We can inspect seams, refresh waterproofing, replace worn outsoles, and re-insulate boots that have lost thermal performance. This kind of preventive maintenance extends boot life significantly and often costs less than replacing them entirely.
Store your boots in a cool, dry place away from direct sunlight. A boot bag protects them from dust and UV exposure. This simple habit prevents deterioration between seasons and keeps your boots ready for your next adventure.
Our Summit Series Verto FA Boots are built for long-term performance, and with proper care, they’ll support thousands of miles of exploration. For the most demanding alpine conditions, the Blackout Verto SA Boots combine Gore-Tex protection with reinforced construction designed to withstand extreme terrain.
Your action: Create a simple post-hike cleaning routine right from your first trek. Spend ten minutes cleaning and drying your boots, and you’ll add years to their functional life.
Breaking in hiking boots properly is an investment in comfort and safety on the trail. By starting with proper fit, gradually increasing wear duration, choosing the right socks, conditioning your feet, addressing hot spots early, testing on short hikes, and maintaining your boots long-term, you’re setting yourself up for successful multi-day treks. The process takes time, but the payoff is boots that feel like a natural extension of your feet, even at mile 20 on day three.
We design our boots to endure whatever terrain you encounter. Your job is to give them (and your feet) the preparation they deserve. Follow these seven strategies, and you’ll experience the kind of boot-foot harmony that transforms trekking from uncomfortable endurance into pure exploration.
Ready for your next adventure? Gear up with apparel and equipment built for the wild. Explore the collection now.
Frequently Asked Questions (FAQ)
How long should I break in my North Face hiking boots before a multi-day trek?
We recommend spending at least 2-3 weeks gradually conditioning your boots before tackling a multi-day mountain trek. Start by wearing them indoors for short periods, then progress to several short day hikes on varied terrain. This timeline allows your boots to mold to your feet while giving you time to identify and address any problem areas before you’re committed to miles of backcountry travel.
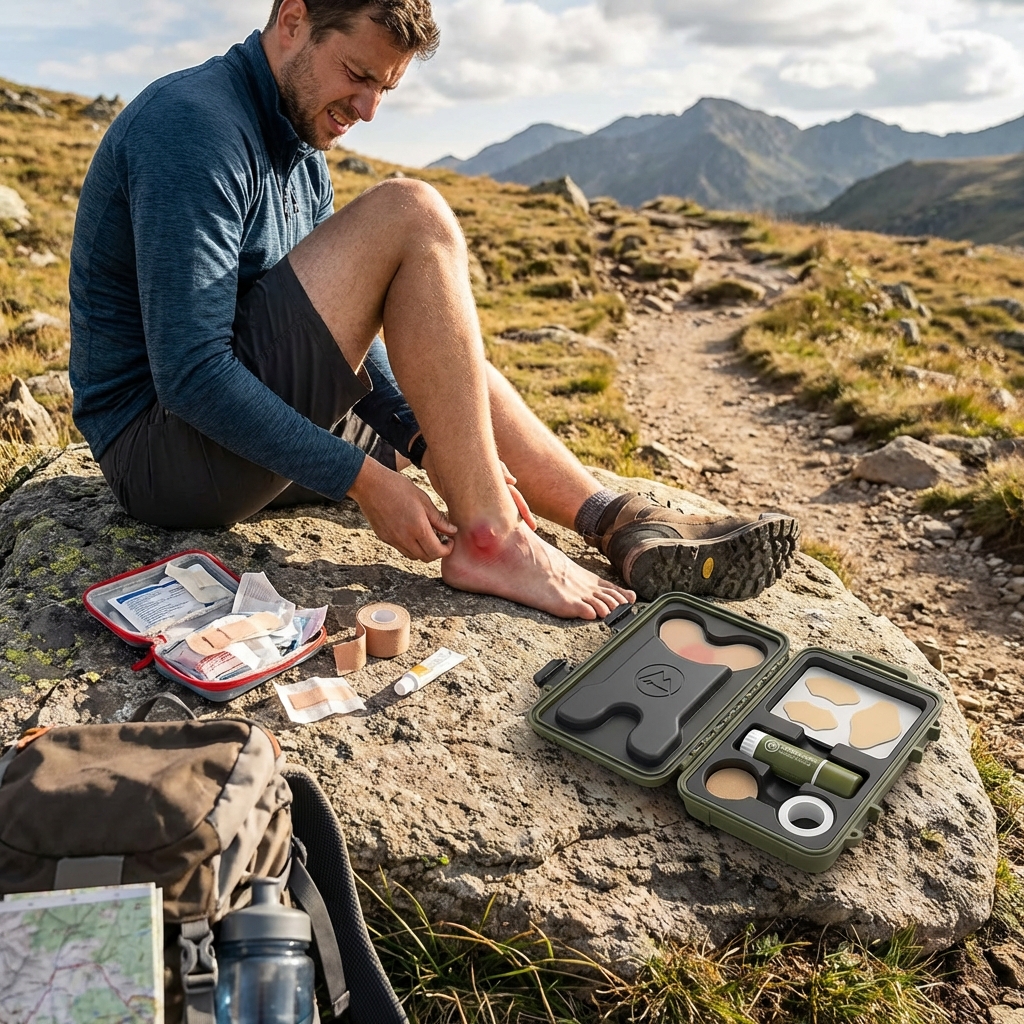
What’s the best way to prevent blisters during boot break-in?
Our experience shows that pairing your boots with our moisture-wicking sock system makes a huge difference in blister prevention. We also recommend applying our innovative padding solutions to high-friction areas like your heels and toes before they become painful. If you do notice hot spots during practice hikes, take it as valuable feedback to adjust your socks, lacing tension, or padding strategy before your actual trek.
Can I speed up the boot break-in process?
While we understand the excitement to hit the trail, rushing the break-in process usually backfires with foot pain and potential injury. Our proven approach focuses on consistent, gradual conditioning rather than shortcuts. We’ve found that respecting your boots’ break-in timeline actually gets you on the mountain faster and more comfortably than fighting through preventable discomfort on day one of your trek.