Table of Contents
- Wear Your Boots Around Town First
- Use Moisture-Wicking Socks for Extended Wear
- Apply Leather Conditioner to Soften Materials
- Gradually Increase Distance and Elevation
- Use Insoles to Customize Your Fit
- Walk on Varied Terrain to Test Performance
- Invest in Quality Footwear That Molds to Your Feet
- Frequently Asked Questions (FAQ)
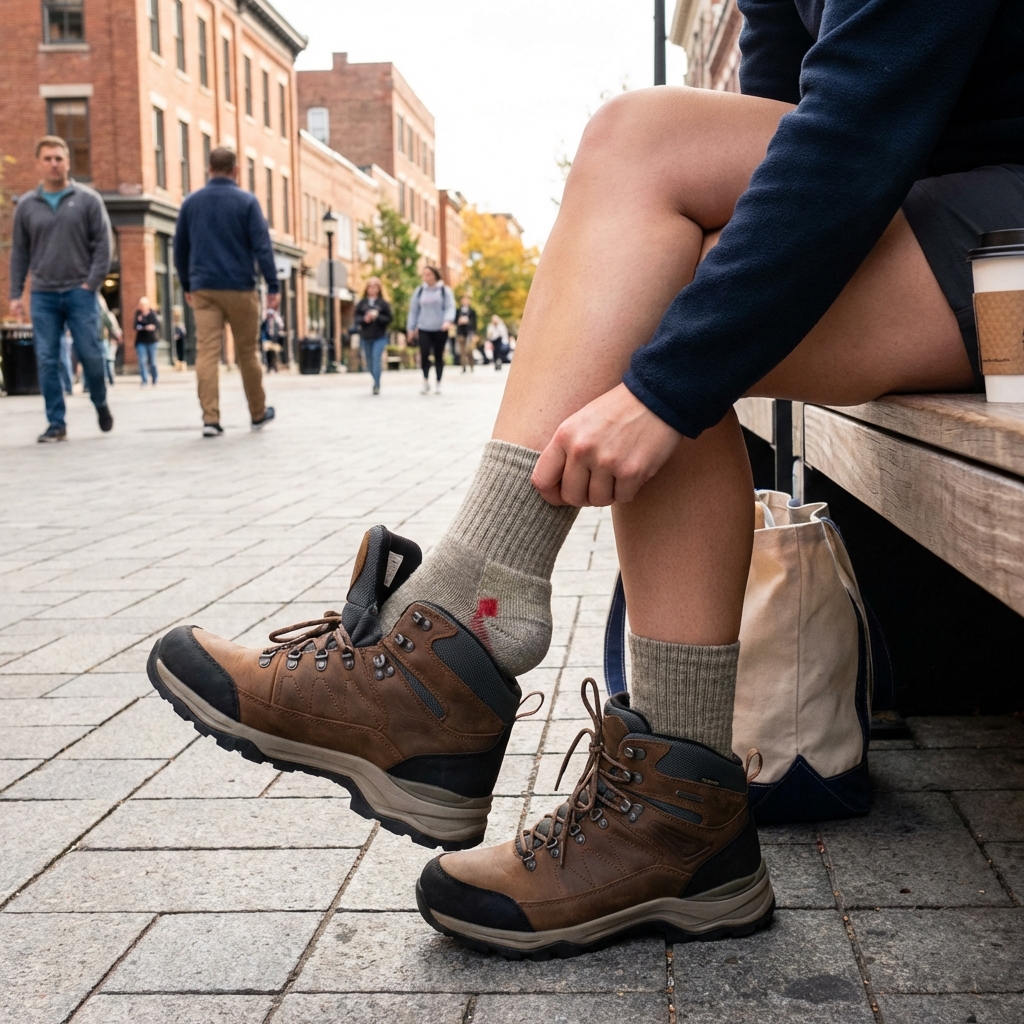
Wear Your Boots Around Town First
New hiking boots straight out of the box rarely feel like home. We know that first uncomfortable mile, the blister forming on your heel, the tight pinch across your toes. But here’s what we’ve learned from outfitting thousands of outdoor explorers: the break-in phase doesn’t have to be painful if you approach it strategically. The difference between boots that feel wooden and boots that feel like extensions of your feet comes down to technique, timing, and patience.
We’ve designed our high-performance boots with materials that respond to proper conditioning. Gore-Tex membranes, premium leather, and molded midsoles all soften and conform to your unique foot shape, but only if you introduce them to your feet gradually. Skip the break-in process and you risk blisters, soreness, and boot abandonment. Follow these seven techniques and your new boots will deliver the performance and comfort you paid for.
Start your break-in journey on pavement, not peaks. Spend a full week wearing your boots on casual outings: walks to the coffee shop, errands around town, light yard work. This initial phase lets the materials begin to soften without the added stress of terrain or elevation.
The leather upper needs time to loosen slightly, and the insole needs to begin conforming to your foot’s pressure points. You’re not testing performance yet; you’re simply letting your feet and boots become acquainted. Aim for two to three hours of wear on days one through three, then bump up to four to five hours on days four through seven.
Pay attention to where pressure builds. A slight tightness across the midfoot or snugness at the heel is normal during this phase. Genuine pain, burning sensations, or acute pressure spots signal a fit issue that won’t resolve with break-in alone. In those cases, try adjusting your lacing pattern or consider insoles (we’ll cover that next).
Your action: Lace your boots snugly but not crushingly tight during town walks. You want them secure enough that your heel doesn’t slide, but loose enough to wiggle your toes comfortably. Record which spots feel tender after each walk; this feedback will guide your conditioning choices.
Use Moisture-Wicking Socks for Extended Wear
The right socks transform the break-in experience from tolerable to genuinely comfortable. We recommend merino wool or synthetic moisture-wicking socks with deliberate padding in high-friction zones like heels and balls of the feet.
Cotton socks trap moisture and bunch up inside the boot, creating hot spots that accelerate blister formation. Moisture-wicking fabrics pull sweat away from your skin, regulate temperature, and maintain consistent cushioning throughout your outing. Merino wool offers natural temperature regulation and antimicrobial properties, meaning you can wear the same pair multiple days without odor buildup.
Thickness matters too. Medium-weight hiking socks provide enough cushioning to buffer pressure points without adding so much bulk that your boots feel cramped. If you’re using thinner socks now, try thicker ones during break-in; the extra padding absorbs impact that your boots’ insoles haven’t yet conformed to accommodate.
Your action: Buy two pairs of quality hiking socks and alternate them during your first week of wear. Thicker, moisture-wicking materials create a forgiving environment for your feet while the leather and midsole gradually soften. You’ll notice significantly fewer hot spots and much faster adaptation.
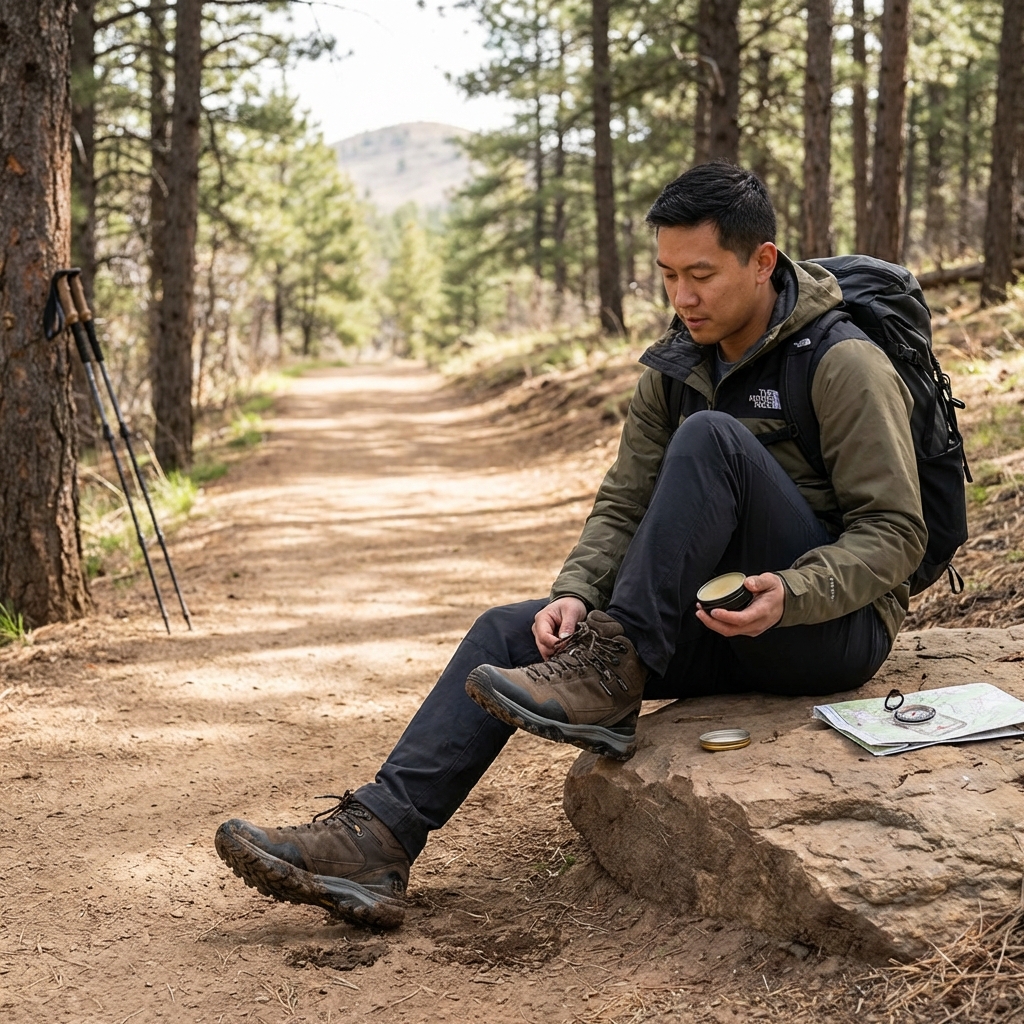
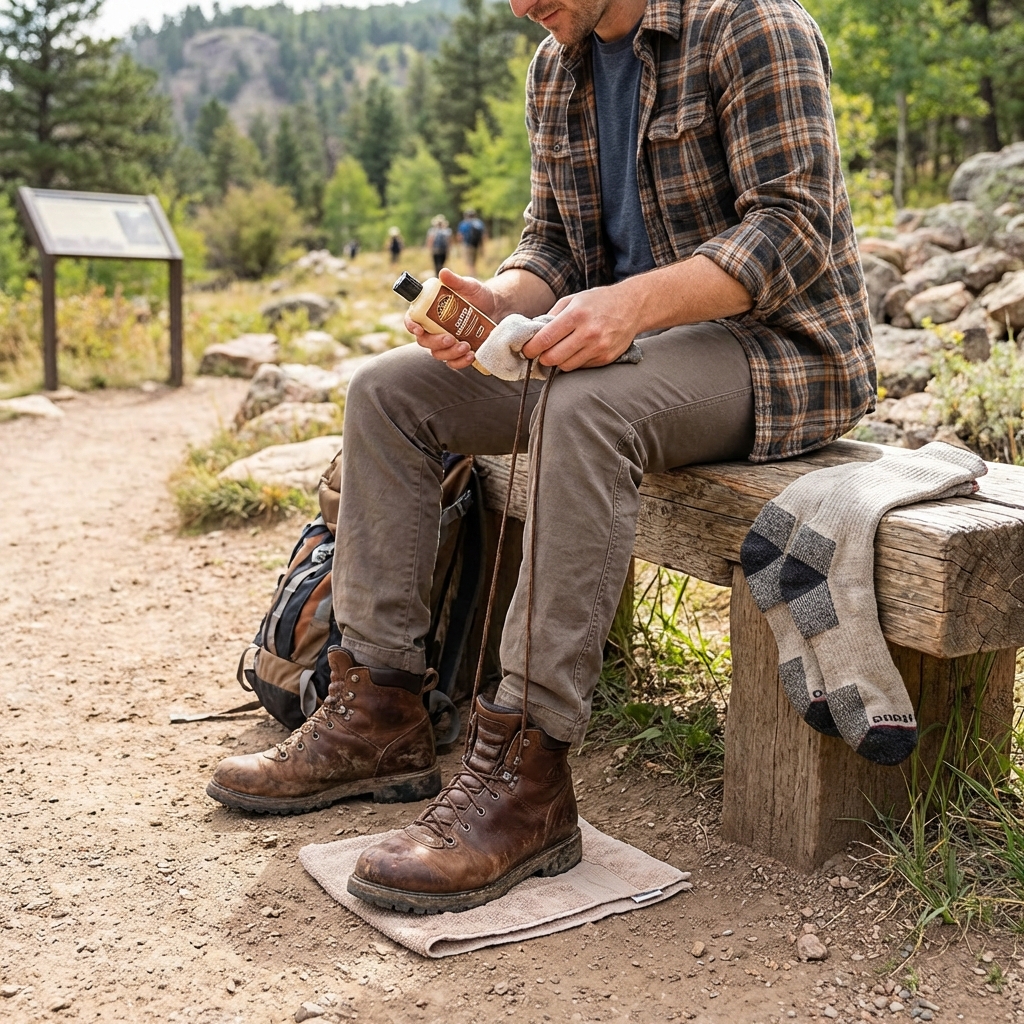
Apply Leather Conditioner to Soften Materials
Leather is a natural material that hardens with time and use. Conditioners and leather treatments penetrate the fibers, making them more supple and responsive to foot pressure. We recommend applying a premium leather conditioner every three to four days during your first two weeks of ownership.
Look for products specifically formulated for hiking boots, not generic shoe polish. These conditioners are designed to preserve waterproofing while softening the leather. Apply a thin, even layer across the upper, focusing on high-stress zones like the heel counter and toe box. Let it sit for 10-15 minutes, then buff away excess with a soft cloth.
The conditioning process doesn’t just soften your boots; it also seals micro-cracks that can develop during the break-in phase. This extends boot lifespan and maintains the integrity of seams and water-resistant treatments. Many of us at The North Face condition our personal boots monthly, even after the initial break-in, to keep them supple year-round.
Your action: Invest in one quality leather conditioner and make it part of your weekly boot maintenance routine during the first month. Three applications across the first two weeks will noticeably reduce stiffness in the upper, helping your feet settle in faster.
Gradually Increase Distance and Elevation
Now that your boots have logged casual miles and your feet have begun adapting, it’s time to take them onto actual trails. The key word here is gradually. Your first hike should be short, flat, and familiar. Think two to three miles on a local trail with minimal elevation gain.
After one or two easy outings, extend to four to five miles. Then step up to moderate elevation gain. Space these progressions three to four days apart, giving your feet and legs time to recover between outings. This graduated approach prevents the shocking pain that comes from asking unprepared feet to climb 2,000 feet of elevation in untested boots.
We’ve seen too many adventurers skip this step and suffer for it. A blister that develops three miles into a five-mile hike can derail your weekend. A tendon strain from overuse in boots that haven’t fully molded can sideline you for weeks. The extra days you invest now pay dividends in comfort and injury prevention.
Your action: Plan a four-week hiking schedule that starts small and builds progressively. Week one: two to three miles, flat. Week two: four to five miles, rolling terrain. Week three: five to seven miles with moderate elevation. Week four: your actual intended distance and difficulty. Mark each hike on a calendar so you stick to the plan.
Use Insoles to Customize Your Fit
Off-the-shelf insoles can’t match the precision of custom footbeds, but aftermarket insoles make an enormous difference for many hikers. We recommend starting with a quality, arch-specific insole if your boots feel slightly loose or if you experience foot fatigue after a few miles.
Insoles address fit issues by filling voids, supporting your arch, and redistributing pressure across your foot. If your heels slide slightly in your boots, a slight heel lift insole can eliminate that movement. If you have high arches, a supportive insole prevents the foot fatigue that comes from unsupported arches bearing load across uneven terrain.
The key is matching insole design to your foot anatomy and hiking style. Runners and trail athletes might prefer cushioned, responsive insoles. Backpackers carrying heavy loads benefit from firmer support. Replace your insoles one at a time so you can isolate how each change affects your comfort. Some hikers find they need insoles in their boots but not in their casual shoes.
Your action: Try one quality insole brand that offers arch-specific options (high, medium, low arch). Wear your boots with the original insoles for the first week, then substitute the new insoles for your second week of hiking. Compare the two experiences and decide if additional support improves your comfort.
Walk on Varied Terrain to Test Performance
Once your boots have logged 10-15 miles, introduce them to the terrain where you’ll actually use them. If you’re a steep scree runner, find a rocky slope. If you’re a forest hiker, take a muddy trail. If you’re heading to alpine terrain, seek out exposed ridges with loose stone.
Varied terrain stress-tests your boots in ways that graded trails can’t. Rocky surfaces reveal if your toe box has enough protection and if your midsole provides adequate support under torsional stress. Loose dirt and gravel test your boot’s ability to keep debris out and maintain ankle stability. Wet ground confirms that your waterproofing and drainage systems actually work.
This testing phase usually happens around week three or four of ownership, after your boots have softened enough to perform well but before you commit them to a major expedition. Pay close attention to how your boots respond: do they feel stable on uneven ground, or do your ankles feel wobbly? Do your feet stay dry, or do they absorb moisture? Does your heel lift in the boot on steep downhills?
Your action: Seek out a local trail that mirrors the terrain you’ll encounter on your planned adventure. Walk it twice, three days apart. On the first walk, focus on comfort and fit. On the second, evaluate performance and stability. Make notes about any discomfort or performance gaps that need addressing before your trip.
Invest in Quality Footwear That Molds to Your Feet
This is where the investment pays off. Premium hiking boots from us are engineered with materials that respond to your feet over time. Gore-Tex linings conform to your arch. Leather uppers soften and mold to your anklebone. Cushioned insoles compress to match your pressure distribution.
Cheaper boots, by contrast, maintain their factory shape indefinitely. The synthetic leather doesn’t soften. The insoles don’t compress. The fit either works or it doesn’t, with very little middle ground. That’s why we invest heavily in material science and construction technique. Our Summit Series Verto FA Boots are designed specifically to mold to your feet while maintaining aggressive tread and insulated protection. The Verto SA Gore-Tex Boots combine that molding capability with advanced waterproofing for year-round performance.
Quality boots break in into custom-fit comfort. They don’t just soften; they actively conform to your unique foot shape, arch height, and gait. This conforming action is what separates boots you’ll wear for ten years from boots you’ll abandon after one painful season.
Your action: Choose boots from a brand with a proven track record of material quality and athlete testing. Our boots are field-tested on some of the world’s most demanding terrain, then refined based on feedback from climbers, skiers, and expedition athletes. That testing translates into boots that break in reliably and perform consistently across seasons and terrain.
The break-in phase isn’t a barrier between you and comfortable hiking. It’s a partnership between your feet and your boots. Approach it methodically, use quality accessories like proper socks and conditioning products, and give your footwear time to conform to your unique shape. Those four weeks of gradual adaptation will reward you with thousands of comfortable, blister-free miles ahead. Your feet and your adventures deserve nothing less.
Ready for your next adventure? Gear up with apparel and equipment built for the wild. Explore the collection now.
Frequently Asked Questions (FAQ)
How long does it typically take to break in hiking boots?
We recommend giving yourself at least 2-3 weeks of gradual wear before taking your boots on a serious outdoor adventure. Start with short walks around town, then gradually increase distance and elevation as your boots mold to your feet. Everyone’s break-in timeline is different depending on the boot construction and your foot shape, so we encourage you to listen to your body and avoid pushing too hard too fast.
What’s the best way to prevent blisters during the break-in period?
We suggest investing in quality moisture-wicking socks as one of your first steps, since they’ll reduce friction and keep your feet dry during extended wear. Pairing the right socks with our custom insole options lets you dial in the fit before heading out on longer trails. If you do develop hot spots, we recommend taking a break and addressing them early rather than powering through discomfort.
Should I buy my hiking boots a size larger to account for break-in?
We don’t recommend sizing up, as our boots are designed to fit properly from the start and will naturally mold to your feet over time. Instead, we suggest visiting our stores or checking our detailed sizing guides to find your true size, then using leather conditioners and insole customization to enhance comfort during the break-in process. A proper fit from day one makes the break-in period more enjoyable and sets you up for success on the trail.
Leave a Reply